
 Pin it
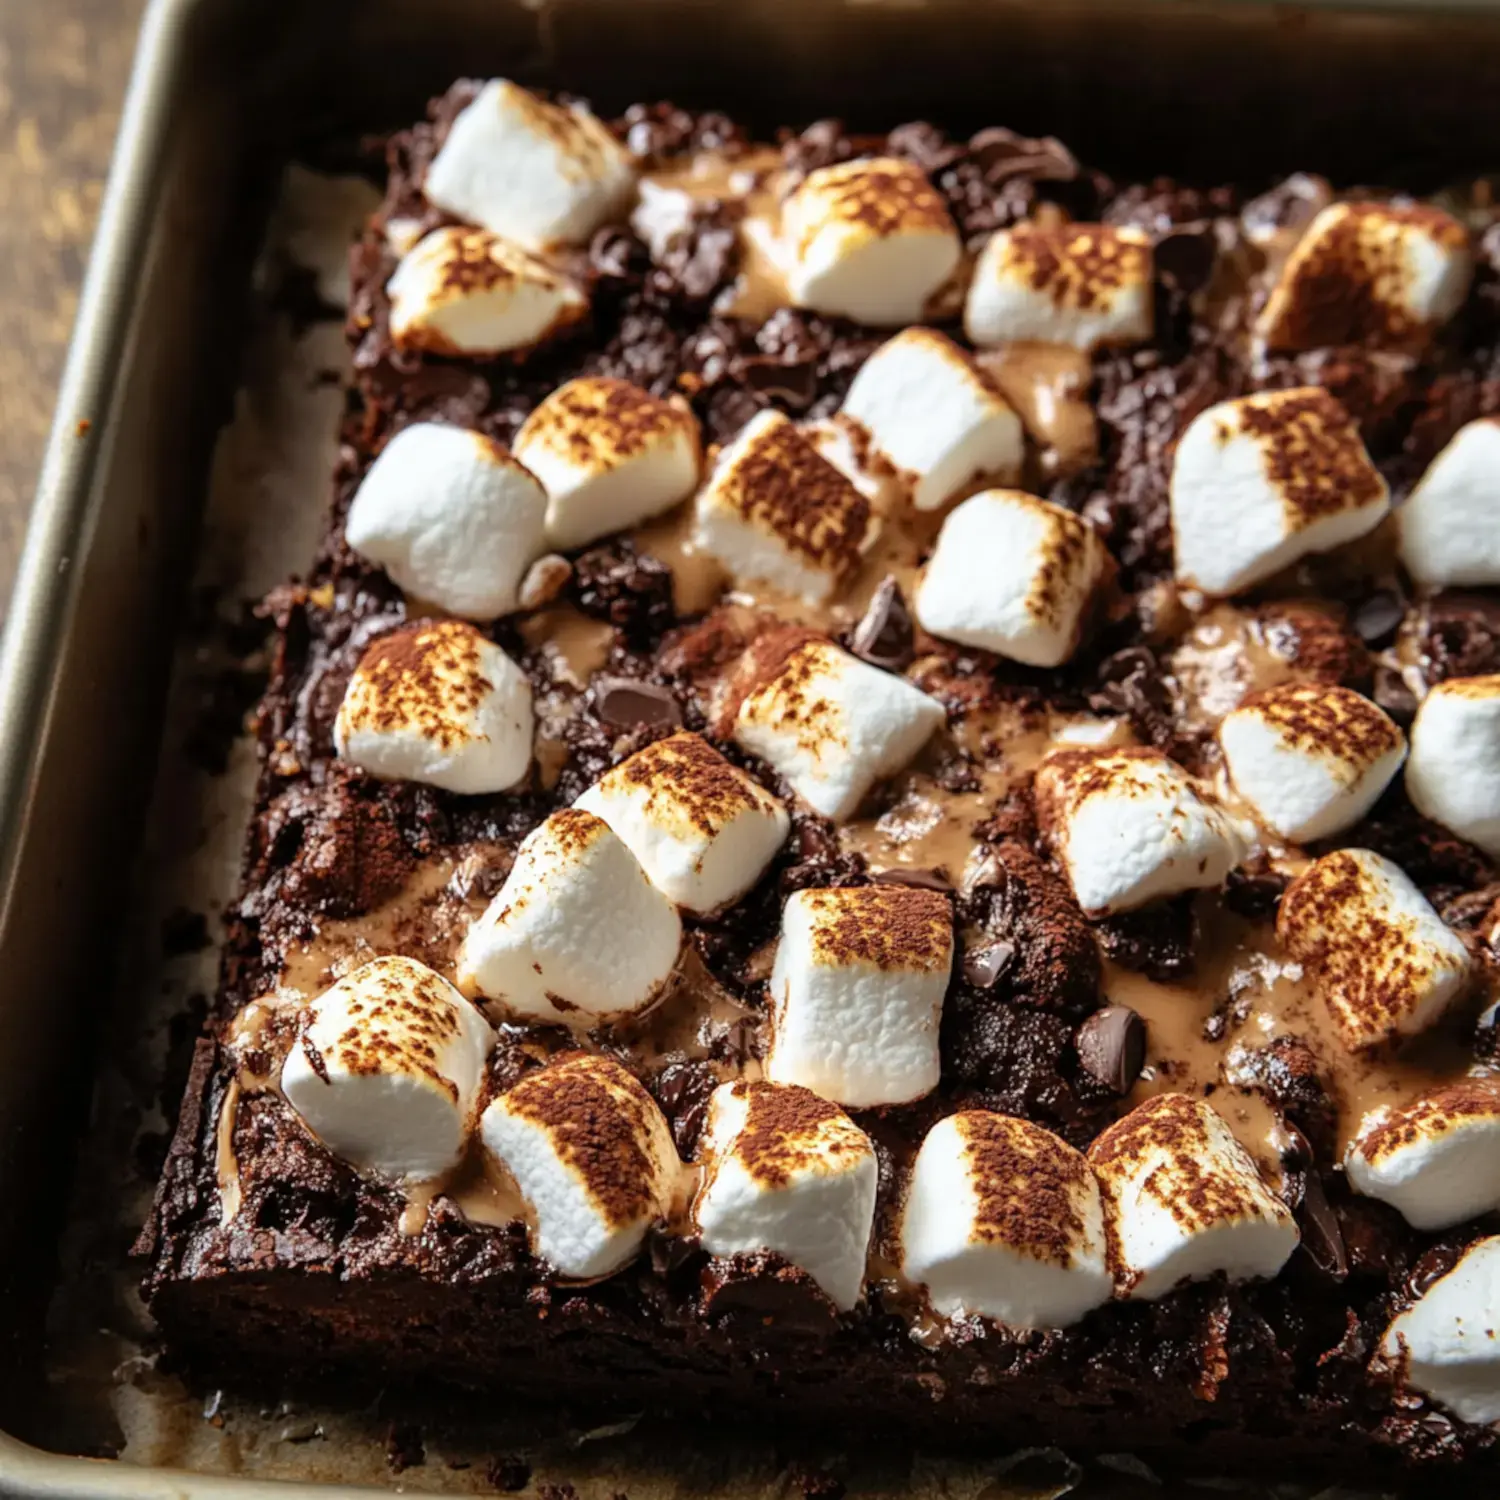
Mixing up these Gooey Marshmallow Chocolate Squares brings such wintery charm to my home. I can't get enough of how those melty marshmallows sink into the chocolate base, creating something truly amazing. That splash of hazelnut booze takes them up a notch, making them perfect for snuggling up or wrapping as thoughtful holiday treats.
What Makes These Special
These squares are a total chocolate fan's paradise. Each bite brings something different - from the melty chocolate to those perfectly browned marshmallows on top. I'm crazy about how the hazelnut booze adds complexity while the contrast between crispy edges and soft centers makes the texture spot-on. They're so easy to whip up but feel totally fancy.
Everything You Need
- Sea Salt: Enhances every single flavor note.
- Flour: Gives these bars their foundation.
- Eggs: They create that gorgeous crackly surface.
- Vanilla: Adds that cozy background note.
- Hazelnut Liqueur: My little trick for mind-blowing taste.
- Sugar: Provides just the right sweetness.
- Chocolate Chunks: Because extra chocolate makes everything better.
- Marshmallows: Turn golden and irresistible.
- Salted Butter: Brings amazing depth of flavor.
- Chocolate Chips: Semi-sweet works wonders as the base.
- Cocoa: For that knockout chocolate punch.
Let's Start Baking
- Final Layer
- The remaining batter goes over everything with extra chocolate pieces scattered throughout because we can't get enough. Then it's off to the oven for the final bake.
- Toasting Time
- Here comes the fun part - watching those marshmallows turn golden brown under the broiler's heat.
- Building Layers
- When everything's mixed, this incredible batter forms. We'll pour half into our waiting pan.
- Getting Bubbly
- You'll want to whisk those eggs until they're light and fluffy - it really transforms the texture.
- Chocolate Magic
- There's something so satisfying about watching butter and chocolate become one smooth mixture. Then we'll stir in sugar, booze and vanilla.
- First Steps
- I always start with warm eggs for that perfect crackly top we're after. Just pop them in warm water for a few minutes.
My Kitchen Secrets
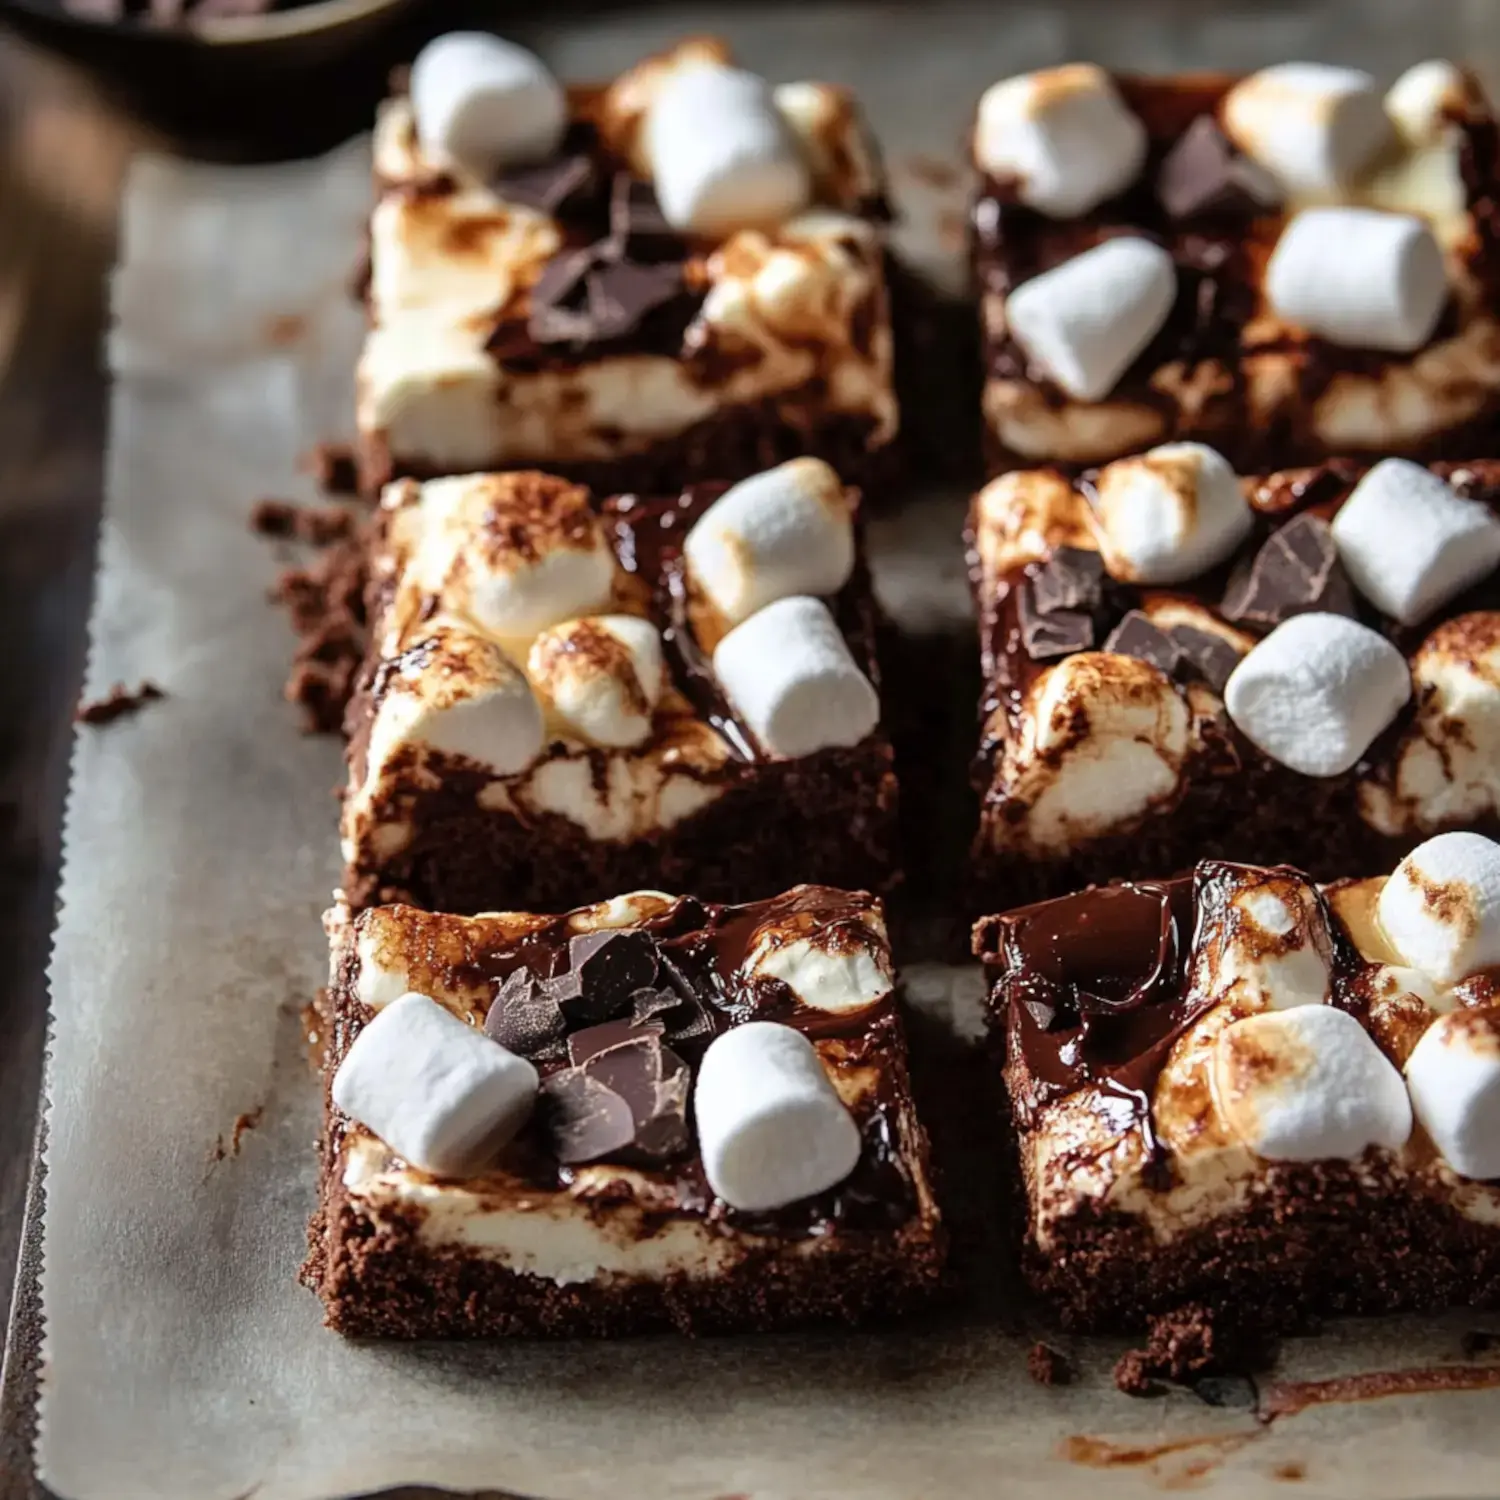
Don't take your eyes off those marshmallows when they're under the broiler. They'll go from perfect to ruined in a flash. Let these babies cool completely for the best texture. When I want something less sweet, I swap in dark chocolate instead.
 Pin it
Keeping Them Perfect
These treats stay fresh in a sealed container at room temp. I often make a double batch to freeze so I've always got something special waiting. For gifting, I wrap them in parchment with pretty ribbons and tuck in the recipe - such a heartfelt present.
Pure Joy in Every Bite
The magic of these bars is how they pack all the best parts of hot cocoa into something you can hold in your hand. They're simple enough for everyday but fancy enough for special occasions. That combo of toasty marshmallow with deep chocolate flavor gets everyone grinning.
Simple Tools Needed
The beauty of these treats is they don't need fancy equipment. Just grab your mixing bowls, a whisk and your trusty brownie pan. Lining with parchment is my go-to trick for easy removal, and your oven's broiler creates that gorgeous toasted top.
Make Them Your Own
I love throwing in crushed candy canes during Christmas or adding chopped walnuts for some crunch. Trying different liqueurs creates whole new flavors - the coffee version is amazing. For kid-friendly treats, I skip the booze and add a bit of instant coffee powder to boost that chocolate flavor.
Perfect Pairings
Nothing beats these squares when they're barely cooled with melting ice cream on top. They're awesome with a mug of hot chocolate on chilly nights or alongside festive drinks at holiday parties. The contrast between warm and cold creates something truly special.
The Magic of Toasting
Those perfectly browned marshmallows aren't just pretty - they pack tons of flavor. The hint of smoke reminds me of summer bonfires but works so well with rich chocolate. It's what makes people remember these treats long after they're gone.
Sharing the Love
I get so much joy from giving these as gifts. They look so cute tucked into holiday containers with handwritten recipe cards and maybe a fun mug. It feels like I'm sending a little bit of my kitchen happiness to friends and family, making their holidays extra sweet.
 Pin it
Frequently Asked Questions
- → Why should I toast marshmallows?
- Toasting gives marshmallows that familiar campfire caramelized taste while keeping them intact. Don’t let them burn!
- → Is hazelnut liqueur necessary?
- Nope! It adds a tasty touch, but you can leave it out without messing with texture.
- → What makes my bars messy to cut?
- It’s the gooey marshmallows! Let the bars cool completely or run a warm knife through them for cleaner slices.
- → What’s the best way to store them?
- Keep them sealed at room temp up to 5 days. Use parchment layers if stacking to avoid sticking.
- → Can I prep these ahead of time?
- Yup! Make them 1-2 days in advance. Once cooled and sliced, they’re perfect for sharing or gifting.