
 Pin it
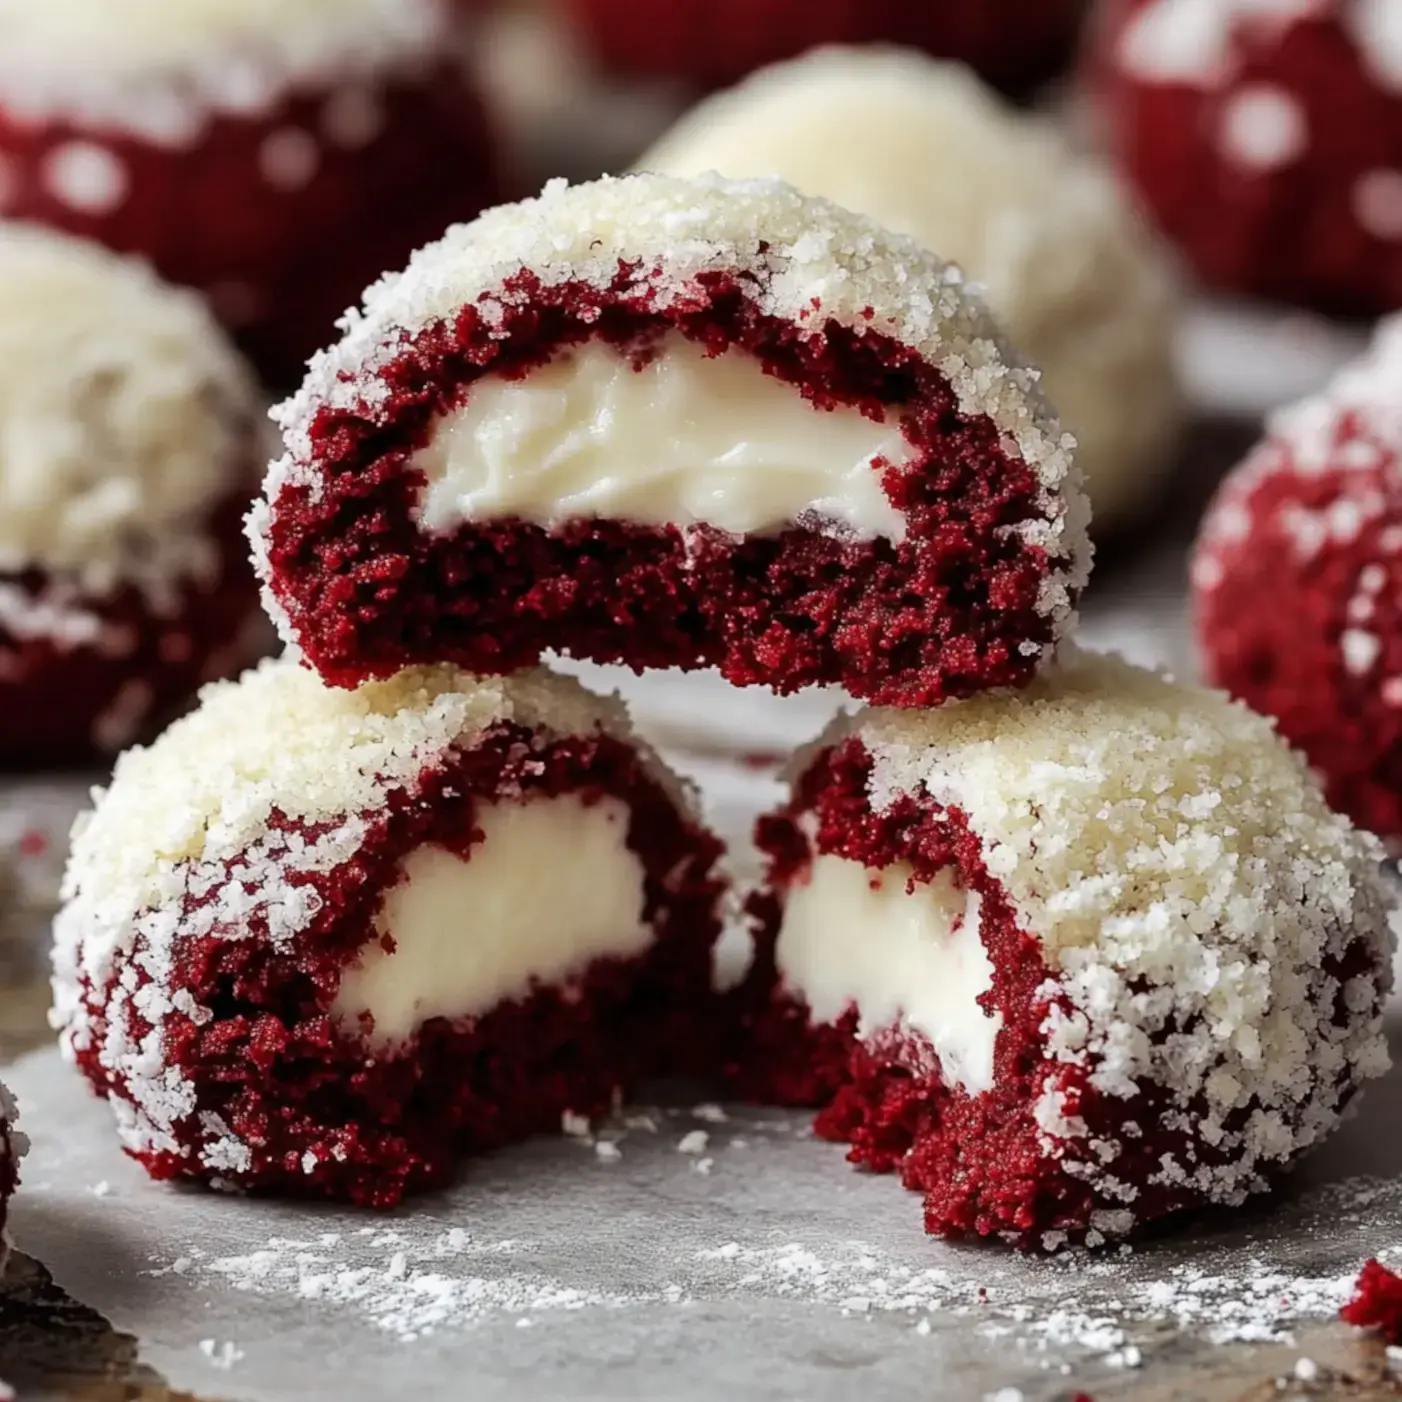
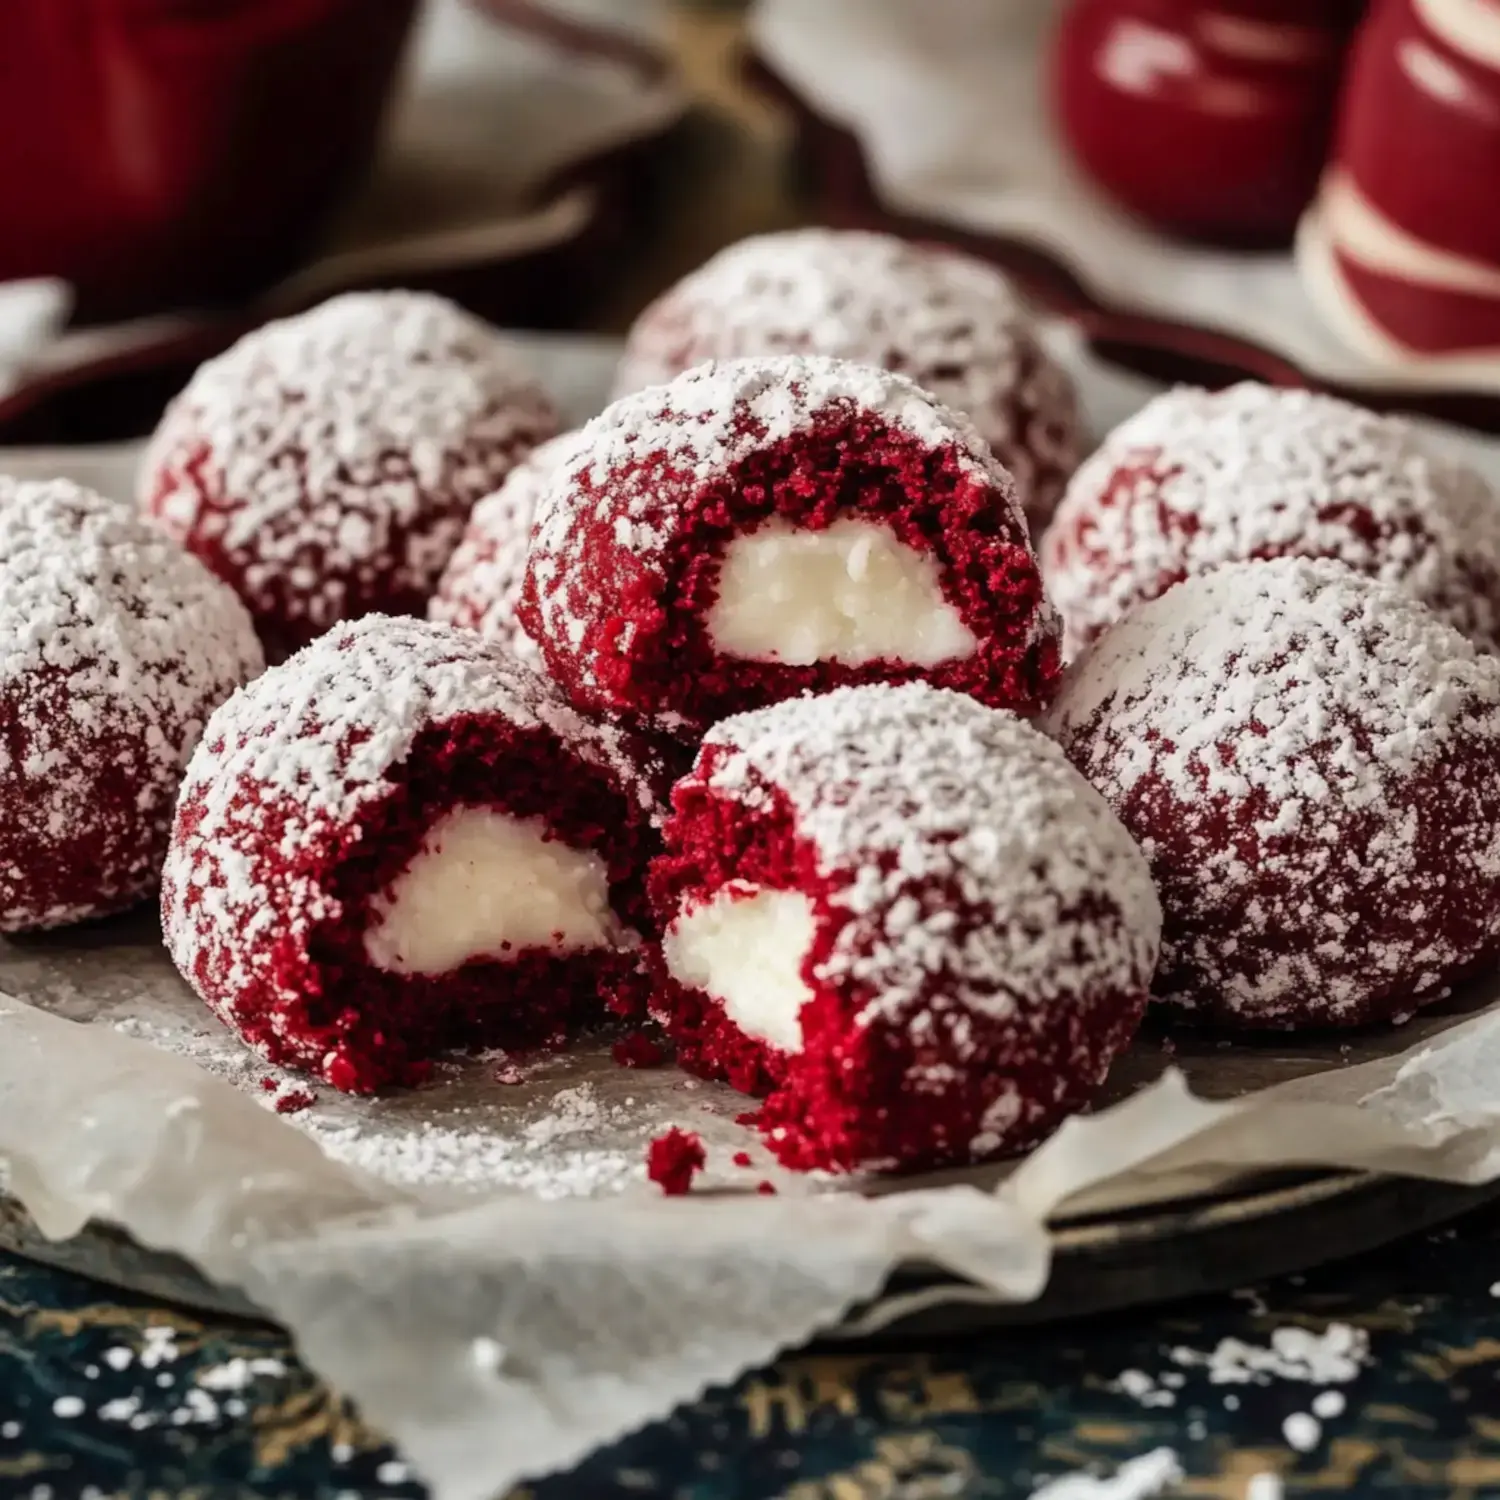
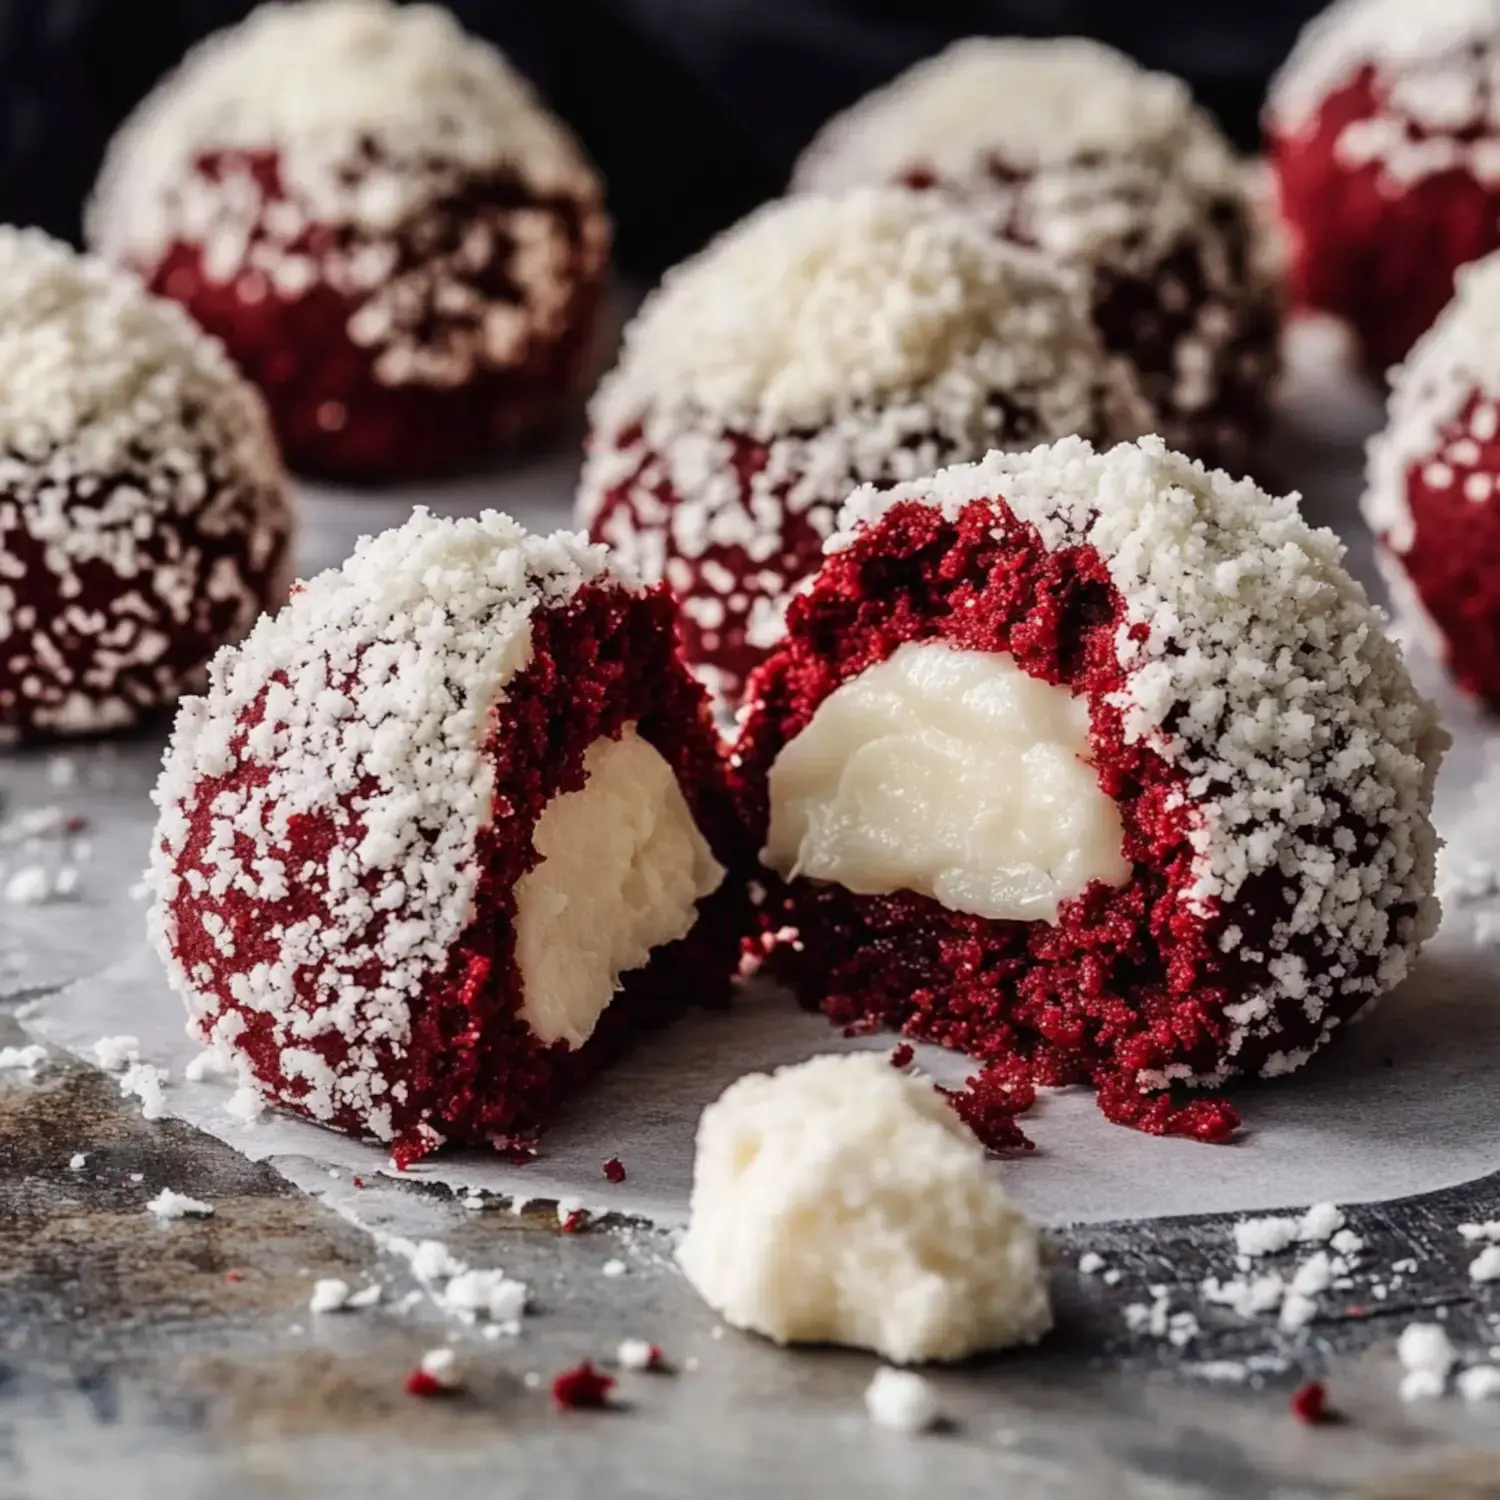
Taking a bite of these crimson Velvet Snowballs whisks me away to winter afternoons in grandma's warm kitchen. The bright red treats covered in powdered sugar look exactly like mini snowballs, and biting into one releases that smooth white chocolate middle that just melts away. It's winter wonder turned into a sweet treat.
Delightful Winter Memories in Each Nibble
I whipped these up during a snowy day while my children played in the yard. Seeing their flushed faces when they came inside from the cold gave me the idea to blend traditional snowball cookies with decadent red velvet and a hidden white chocolate surprise. They ask for them every time the snow starts falling now.
What Sets These Cookies Apart
- Eye-catching Appearance: The vibrant red peeking through the dusting of sugar makes everyone grin when they first see them.
- Hidden Treasure: Each warm bite reveals a creamy white chocolate middle that turns wonderfully gooey.
- Simple Recipe: They're so straightforward my teen makes batches by herself.
- Made for Gifting: People always beam when you show up with these at exchanges or wrap them as presents.
My Top Baking Tips
- Cool Your Mix: Keep it in the fridge so it's easier to handle—you'll be glad you did.
- Use Gel Coloring: This gets you that amazing red without changing the dough texture.
- Don't Skimp on Chocolate: Buy the good white chocolate chips—it really matters.
- Extra Snowy Finish: Go all out rolling them in sugar and coconut until they look like perfect snowballs.
 Pin it
Best Ways to Savor
Grab some hot chocolate and snuggle up with these treats when it's chilly outside. I love putting them in cute boxes with ribbons for teachers. They always grab all the attention on my holiday cookie plates too.
Making Memories in the Kitchen
Some of my most cherished times come from baking these with my kids. I never get tired of seeing their faces light up when they find that gooey center. Our normal afternoons turn into special memories when we bake together.
Your Ingredient List
- All-Purpose Flour: Go for new flour—it really changes how they feel and taste.
- Cocoa Powder: Pick dark cocoa for that unmistakable red velvet flavor.
- Gel Food Coloring: My trick for getting that holiday red without ruining your dough.
- Butter: Make sure it's sitting out until soft for the smoothest cookie texture.
- Sugar: Plain white granulated works just fine here.
- Buttermilk: This adds that slight tang that makes red velvet so good.
- White Chocolate Chips: Don't buy cheap ones—they're what makes these cookies special.
- Powdered Sugar and Coconut: For that snow-like coating that brings out the smiles.
Step by Step Guide
- Get Your Dough Ready
- Beat butter and sugar till light, add your coloring, then blend in dry stuff and buttermilk. Let the dough chill in the fridge a bit.
- Form Your Treats
- Make small balls, push a white chocolate chip inside, then roll again until smooth.
- Pop Them in the Oven
- Cover them well with powdered sugar and coconut before baking at 350°F for around 10 minutes.
- Final Touches
- Let them cool just enough so you can eat them without burning your mouth on the melty middle.
Keeping Your Snowballs Fresh
Put your cookies in something with a good lid and they'll stay yummy for 5 days on your counter. Want to make them early? Stick them in the freezer for up to 3 months. Just bring them to room temperature before you eat them.
Creative Twists to Try
- Change the Inside: I sometimes use cream cheese in the middle when I want something with more zing.
- Leave Out Coconut: If you don't like coconut—just use extra powdered sugar instead.
- Make Them Small: Tiny versions work great for parties—they vanish even quicker.
Sharing Cookie Happiness
I love giving these cookies away. Box them up for teachers, folks next door, or buddies. Watching someone take their first bite and discover what's inside makes their whole face brighten up. That's what holiday baking should be about.
 Pin it
Frequently Asked Questions
- → Why put the dough in the fridge?
- It makes it simpler to handle and stops the cookies from flattening while they bake.
- → Can I swap the filling?
- Sure! Use dark chocolate or even candy instead. Just make sure it’s fully wrapped in the dough.
- → What’s the water or syrup for?
- It helps the coconut stick and keeps it fresh and snowy.
- → Can I prep these early?
- Absolutely! Keep them in a sealed container for up to 5 days. The middle stays soft but won’t be gooey.
- → What coconut should I use?
- Choose shredded coconut, either sweetened or plain. Avoid flaked coconut—it won’t stick as well.