
 Pin it
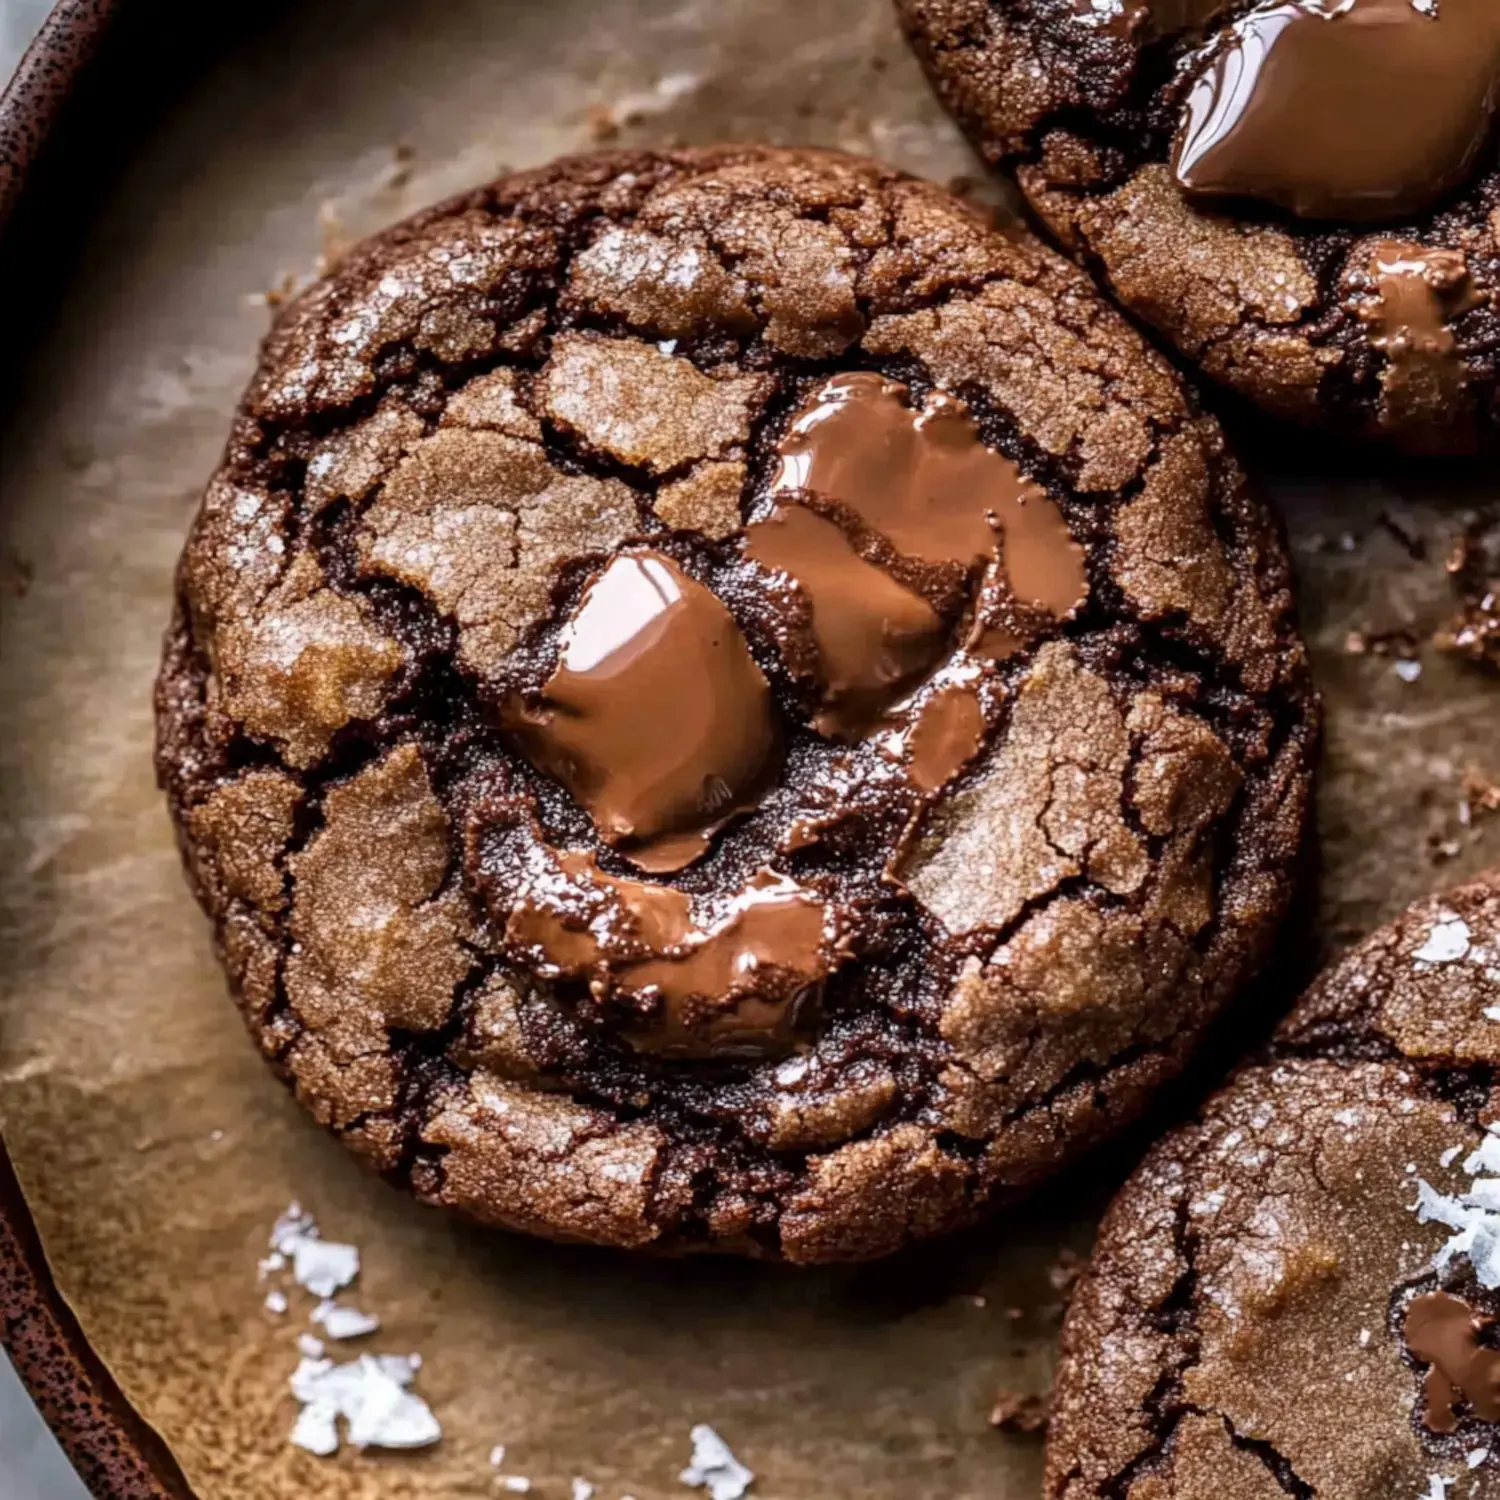
These Vanilla Hot Chocolate Molten Cookies were born during a cold winter night when I needed something that felt like pure comfort. They've now become the treat my family begs for every holiday season. Those dark chocolate pieces create these amazing gooey spots while the vanilla adds this warm feeling that's basically cookie perfection. It's like having your favorite mug of hot chocolate but in a chewy, delicious cookie form.
What Makes These So Wonderful
I think of these cookies as my tribute to cozy nights and hot chocolate moments. They've got this amazing mix of deep chocolate flavor with smooth vanilla and that tiny hint of sea salt that gets everyone hooked. I can't count how many times my most finicky holiday visitors have asked me to share this recipe after just one taste.
What You'll Need For These
- Unsalted Butter: One cup melted alongside chocolate for that rich base.
- Premium Dark Chocolate: Cut into chunks to create those melty spots.
- Mini Chocolate Chips: Because we can't have too much chocolate goodness.
- Quality Vanilla: Two full tablespoons to bring that warm feeling.
- Large Eggs: Kept at room temp for the best cookie texture.
- Granulated Sugar: Just the right amount to complement the chocolate.
- Regular Flour: Creates our cookie structure.
- Dutch Cocoa: Adds deeper chocolate flavor throughout.
- Baking Soda: Gives us that perfect cookie rise.
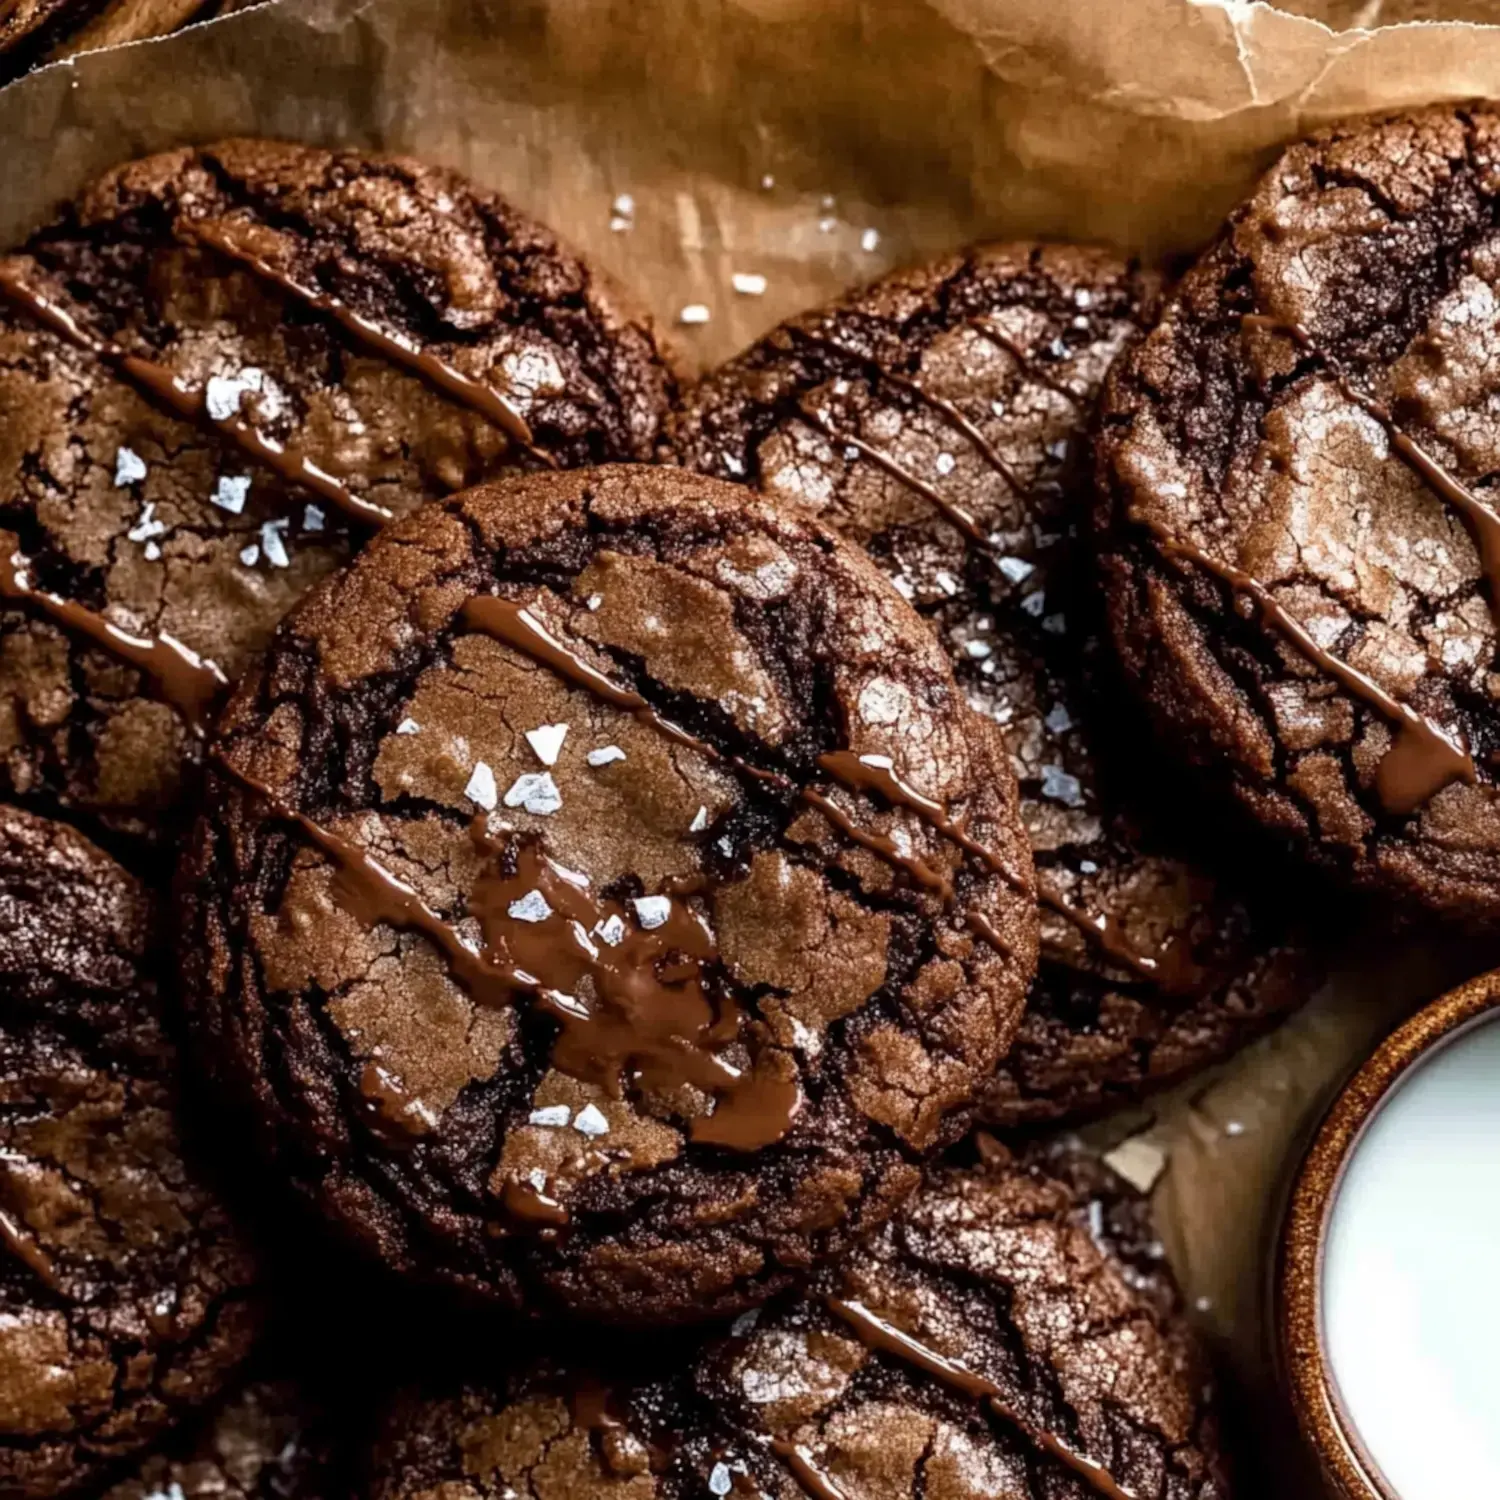
- Flaky Sea Salt: Makes every flavor pop beautifully.
Let's Start Baking
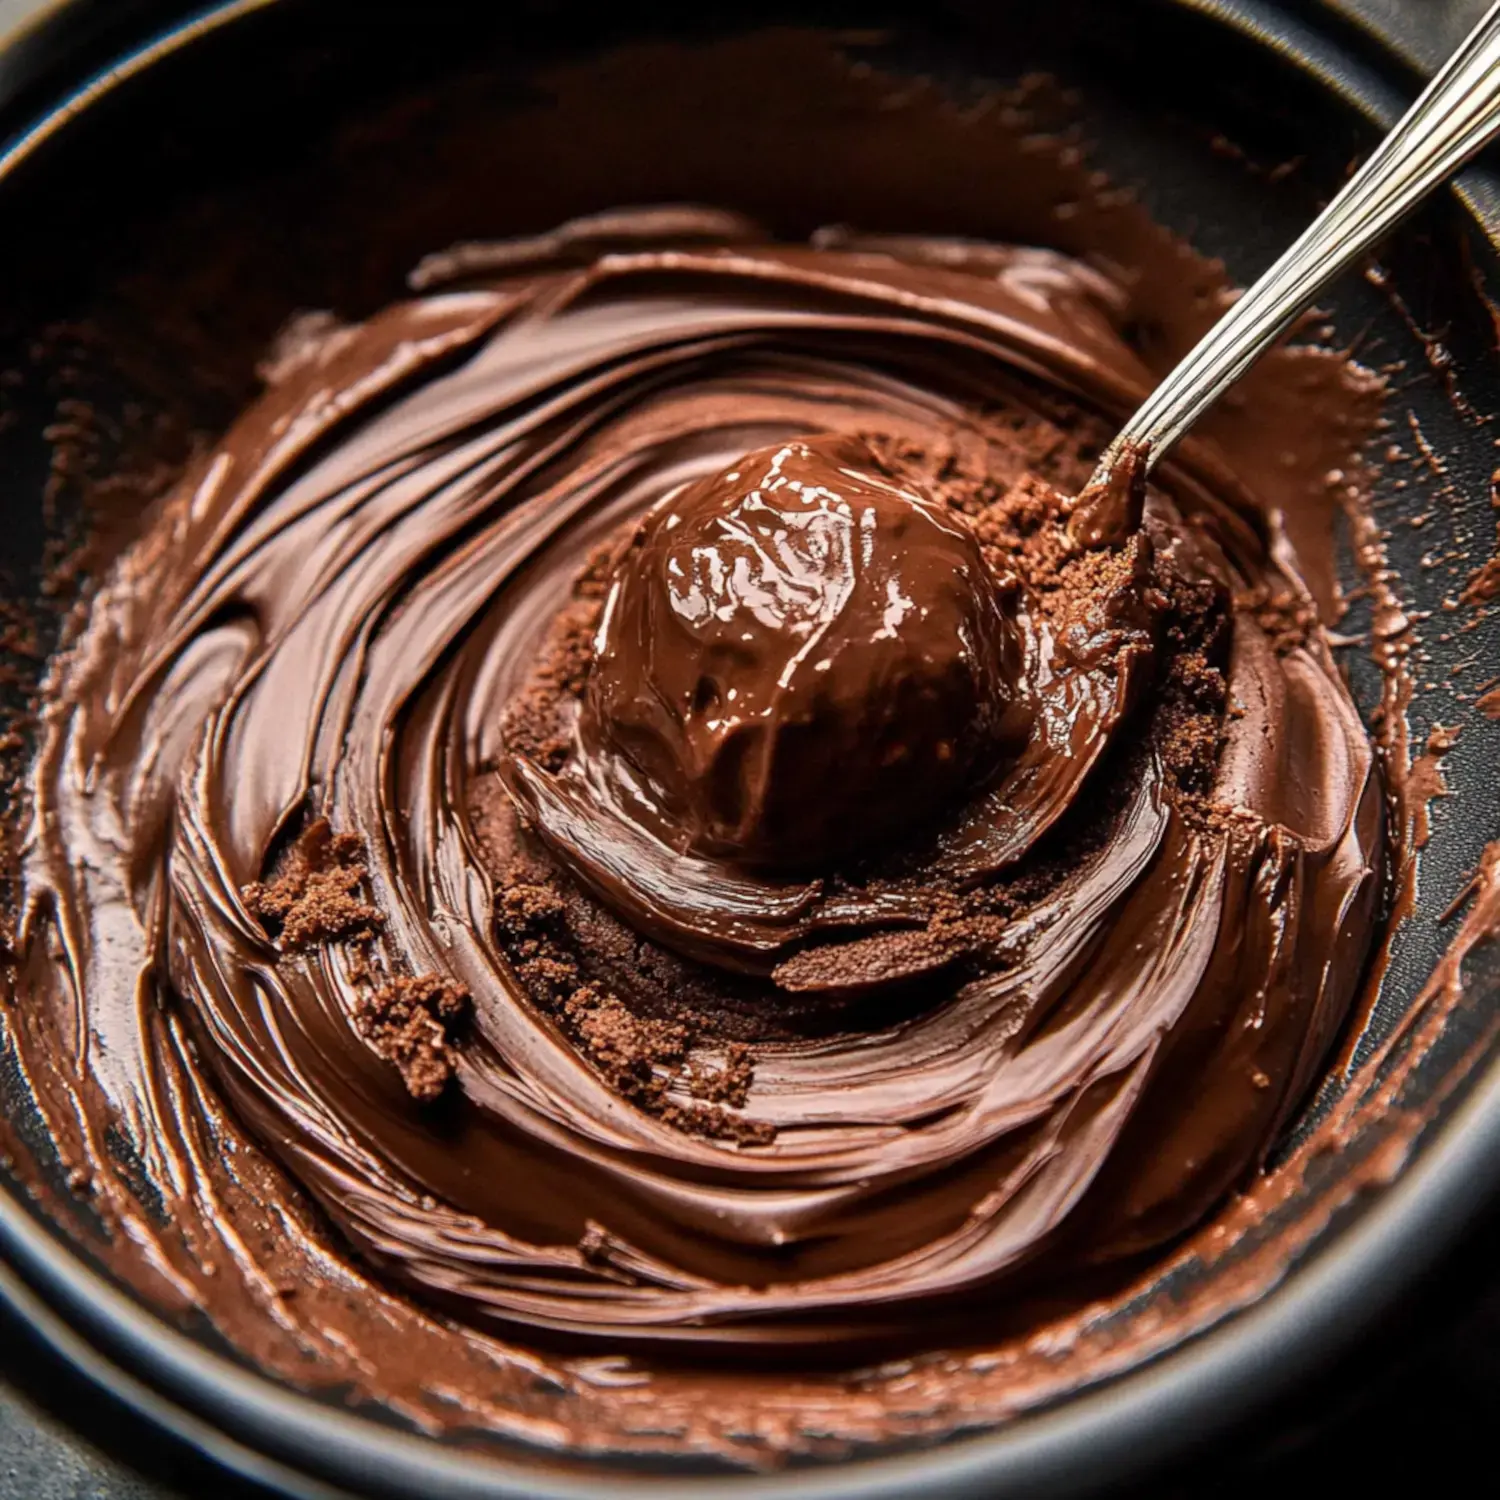
- The Chocolate Base
- Combine your butter and dark chocolate in a bowl and melt them together until smooth. The smell alone will make your mouth water.
- Creating Air
- Beat those eggs and sugar until they're super light and fluffy, then mix in that lovely vanilla.
- Preparing Dry Stuff
- Mix all your dry ingredients in another bowl making sure everything's well combined.
- Mixing It All
- Now comes my favorite part - watching all these ingredients turn into this beautiful sticky dough loaded with chocolate bits.
- Chilling Time
- Shape your dough into small balls and pop them in the freezer - don't rush this step, it's crucial.
- Into The Oven
- Bake them until they're just right, and your house will smell like the best chocolate shop ever.
 Pin it
My Personal Tips
You really can't miss that freezing part - it's what gives you those amazing gooey centers. Always buy good quality chocolate, you'll taste the difference. Sometimes I put in extra vanilla when I want them super cozy. And throwing in some crushed candy canes or nuts? That's how you make them feel extra festive.
Ways To Serve Them
These cookies taste best right when they're still warm, maybe with some fresh whipped cream on top that starts to melt. Pair them with hot cocoa and you've got the ultimate comfort treat. When I give them as gifts, I love putting them in cute boxes - people always feel so special getting them.
Storage Tricks
They'll stay good for about three days in a sealed container, though we usually finish them way before that. A quick ten seconds in the microwave brings back all that gooey goodness. I also keep balls of dough in my freezer for when we need cookies fast - you can bake them straight from frozen.
Fun Variations To Try
On some nights I mix in crushed candy canes for a minty twist. Adding chunks of white chocolate makes them extra dreamy, and have you tried putting caramel on top? It's amazing. Sometimes I toss in a handful of chopped pecans when we want some crunch.
Why They're Always A Hit
These cookies feel like wearing your favorite sweater on a cold day. The way they look with chocolate oozing out, how amazing your kitchen smells while they bake. They make everything better whether you're hosting a big party or just snuggled up on the couch.
Getting Them Just Right
Don't skip letting your eggs warm up - it really does make your cookies fluffier. That time in the freezer isn't optional, it's how we get that perfect look and texture. And trust me, buying good chocolate is worth every penny for these.
Making Them Last
Store them with care in a good container and they'll stay yummy for days. A quick zap in the microwave makes them taste fresh out of the oven again. My favorite way to enjoy leftovers? Dunked in hot chocolate with a big spoonful of whipped cream.
Gifting These Treats
These cookies make such thoughtful presents. I put them in fancy tins or wrap them in parchment with some pretty ribbon. There's something about giving someone homemade cookies that just feels more meaningful during the holidays.
 Pin it
Frequently Asked Questions
- → Why do I chill the dough first?
Chilling firms the dough and keeps the cookies from spreading too much. It also gives that amazing gooey center while keeping the shape intact.
- → What if my dough is runny?
Whisk the eggs really well and make sure to freeze the dough before baking. If it’s still loose, mix in a little more flour—up to 1/4 cup at a time until it’s thick enough.
- → Can I prep these ahead?
Sure! You can freeze the cookie dough for up to 3 months. Thaw before baking for the best results.
- → How will I know they're ready?
They're done when the edges are firm but the middle still looks a little soft—after about 8-12 minutes. They'll finish cooking as they cool.
- → How do I store leftovers?
Keep them in a sealed container for up to 4 days. Heat them up in the microwave for a few seconds before enjoying!
Conclusion
Satisfy your sweet tooth with these chocolate-filled molten cookies. Soft and gooey in the middle, crispy at the edges, they're amazing lightly warm and paired with a drink.