
 Pin it
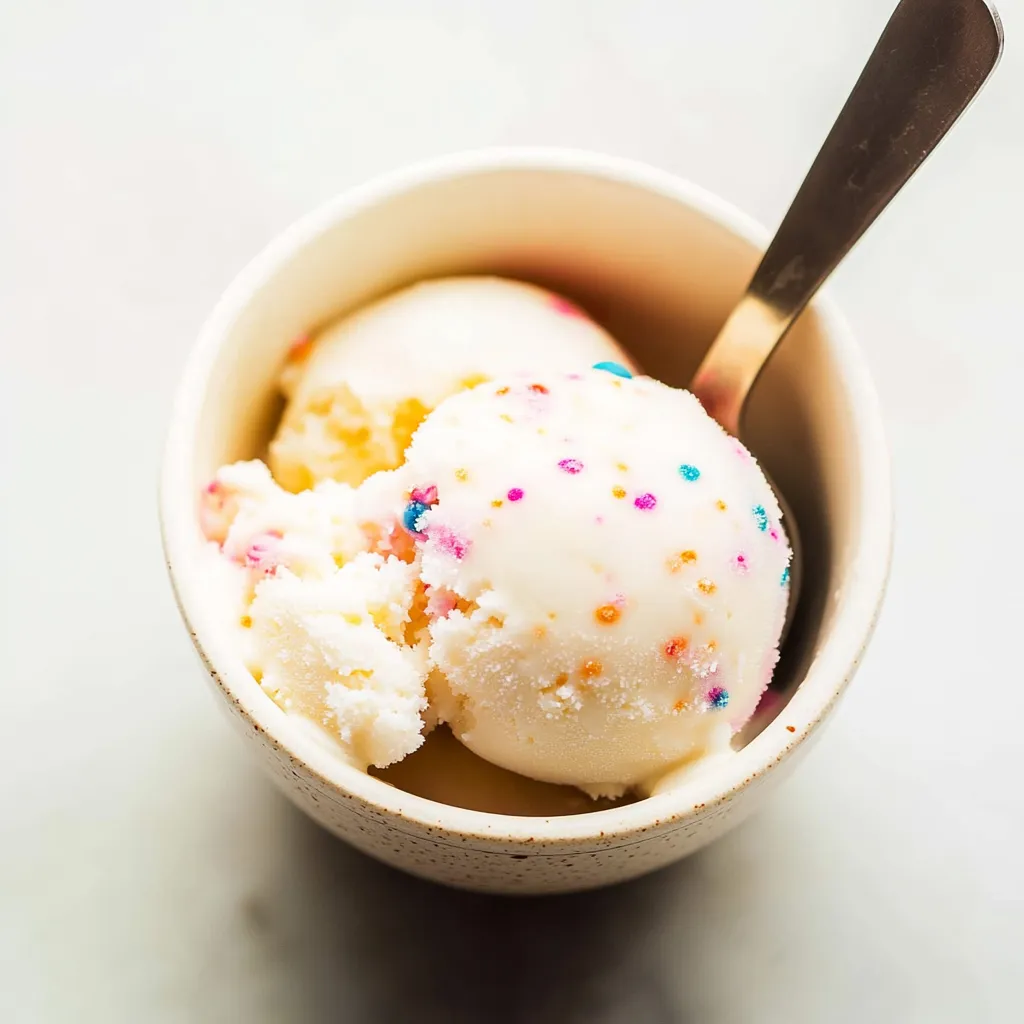
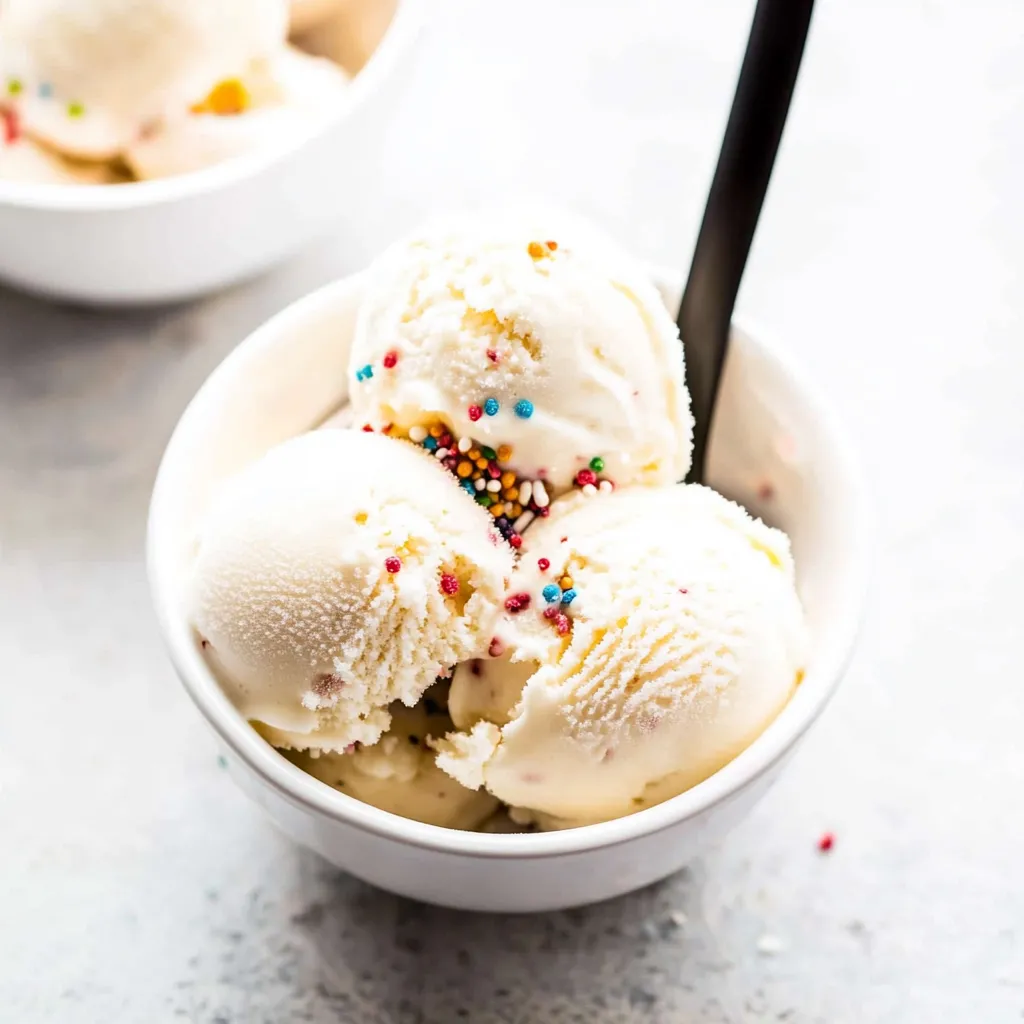
Turn fluffy winter snow into a sweet, creamy dessert that brings out the wonder of snowy days. This simple snow ice cream blends nature's frosty gift with basic kitchen ingredients for a fun seasonal delight that kids and adults will enjoy making together.
When I made this with my sister's kids last year, they couldn't believe snow could turn into dessert. Want to know my trick? I keep the bowls super cold so the snow stays fluffy longer.
Key Ingredients and Tips
- Snow Tips: Gather white, newly fallen snow from clean, untouched spots
- Milk Options: Works with any type - regular milk adds creaminess, while non-dairy gives different options
- Sweetener: Small sugar granules mix in better and smoother
- Vanilla Extract: Real extract gives the best traditional taste
- Salt: A tiny bit makes all flavors pop more
Keeping Everything Cold
Getting the temperature right makes all the difference. Stick your mixing bowls in the freezer ahead of time to keep everything frosty while you work. Make sure all your stuff stays cold, and don't take too long or it'll melt fast. You can store your snow outside or in the freezer until you're ready to mix it up.
How to Mix It Just Right
The way you mix affects how good your snow ice cream turns out. Don't press down too hard - use light, soft folding moves so you don't squish the snow. Mix everything in quickly but carefully. A gentle touch keeps the snow fluffy while making sure all the good stuff spreads evenly throughout.
 Pin it
When to Eat It
This treat won't wait around for you. It tastes best right after you make it and doesn't stay good in the freezer. Make small amounts so nothing gets wasted. Get all your ingredients ready before you go collect snow so you can mix everything up fast for the yummiest results.
Try Different Tastes
You can change up the flavor any way you want. Mix in some cocoa powder if you love chocolate, or toss in fresh berries for fruity flavor. Crushed cookies or graham crackers make it taste like dessert, and chopped nuts give it a nice crunch. During holidays, try adding peppermint or cinnamon for a festive touch.
Staying Safe
You need to be careful about what snow you use. Only pick fresh, white snow and stay away from roads where cars might have been. Don't ever use snow that looks dirty or colored, and try to scoop from raised places like tables or clean railings to avoid picking up dirt.
Ways to Serve It
Make your snow ice cream look extra special with fun toppings. Throw on some bright sprinkles, fresh fruit chunks, bits of cookies, chocolate drizzle, or a spoonful of whipped cream to make it look amazing and taste even better.
Fixing Common Problems
Here's how to handle issues that might come up. If it's too liquid, just add more snow to thicken it up. When it feels too dry, pour in tiny splashes of milk until it feels right. If sweetness isn't spread out well, mix your liquid base better before adding snow. To stop fast melting, use those cold bowls we talked about earlier.
Making It Fun for Children
Turn this into a blast for the little ones. Let them pick their favorite add-ins or set up a station with lots of colorful options. Use bright cups or bowls to make it more exciting. Get kids involved in gathering the snow too - they'll love being part of the whole process.
Perfect Times to Make It
This treat fits so many winter moments. Make it when school gets canceled for snow, at winter birthday parties, during family holiday get-togethers, or as something special at outdoor winter fun days. It's easy to change up and always brings smiles during cold weather.
Here's what my family does differently - we put in a tiny bit of almond extract with the vanilla. It gives a mystery flavor that everyone loves but nobody can quite figure out.
 Pin it
After trying this during many snowfalls, I've learned that being ready and working fast makes all the difference. The way snow crystals mix with the sweet, milky base creates something totally different from store-bought ice cream. Whether you make it just because it snowed or for a winter party, this snow ice cream shows that sometimes the easiest treats create the best memories.
Frequently Asked Questions
- → Is it okay to eat snow?
- Go for fresh, untouched snow in clean spots. Skip snow that's yellow or dirty, and decide based on your comfort!
- → Can non-dairy milk work?
- Absolutely! Almond, soy, or oat milk all make a great alternative, so pick your favorite.
- → Why does it melt so fast?
- Since it's not churned or stabilized like regular ice cream, it melts quicker. Enjoy it right away!
- → Can I try this without snow?
- Sure! Shaved ice works too, but the texture might feel a little different.
- → What toppings should I add?
- Go wild! Sprinkles are classic, but chocolate chips, crushed cookies, or syrup are equally tasty.