
 Pin it
Turn regular dates into mouthwatering candy bar lookalikes with just five simple ingredients. This method captures that iconic chocolate-caramel-peanut combo we all crave, but gives you a more natural option. Every bite is sweet and chewy with an extra protein kick from the nut butter.
My sister showed me this idea and it completely changed my approach to healthy sweet treats. The way these dates turn into something that tastes like candy bars still wows everyone who bites into them.
Complete Ingredients Breakdown
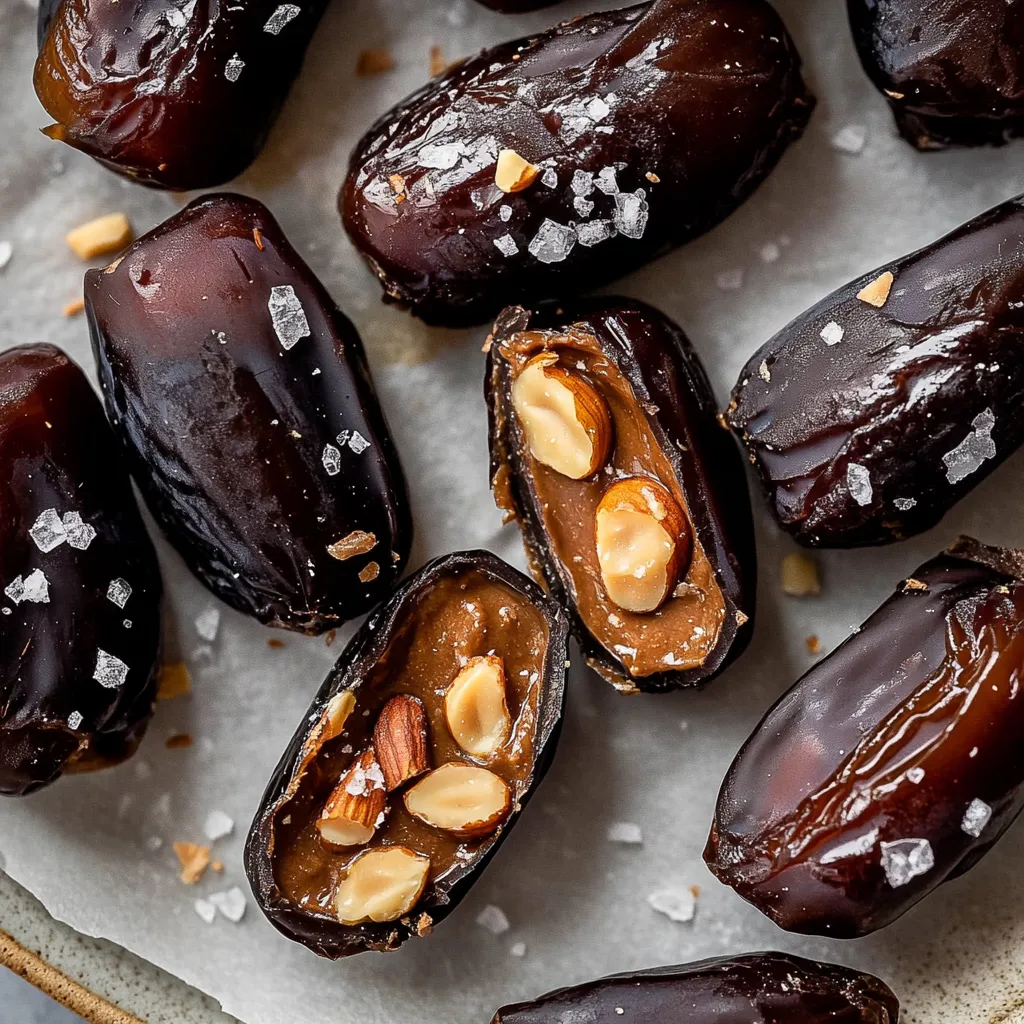
- Medjool dates (12 large): Go for juicy, soft dates with shiny skin. Stay away from dried-out or sugar-crusted ones. Good dates should feel a bit sticky and bend easily.
- Natural peanut butter (½ cup): Try to get organic kinds with just peanuts and salt. Make sure it's stirred well and not cold for easy spreading.
- Raw peanuts (½ cup): Pick unsalted, fresh ones without any off smell. Dry-roasted peanuts will give you more crunch.
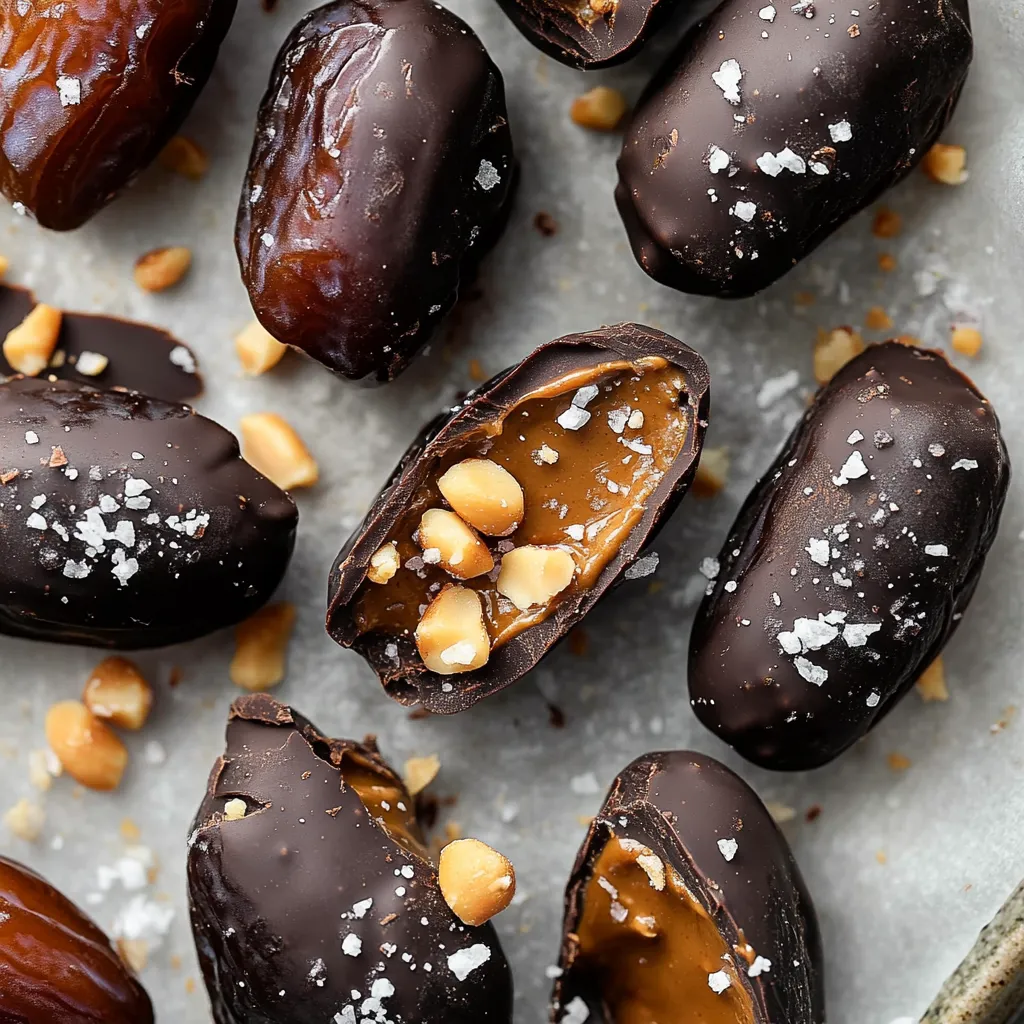
- Dark chocolate (8 ounces): Aim for 70% cocoa or higher for the best taste. Dairy-free options like Evolved brand work great.
- Maldon sea salt (1 tablespoon): Those big flaky bits add the perfect finishing crunch and balance the sweetness.
- Optional: A teaspoon of vanilla extract brings out the chocolate flavor.
Crafting Delicious Date Snickers
- Getting Dates Ready
- Use dates at room temp so they're easy to work with. Cut them lengthwise but not all the way through, making a little pocket while keeping the date connected.
- Adding Peanut Butter
- Let your peanut butter sit out until it's easy to spread. Fill each date opening about 75% full, using a small spatula for clean work.
- Adding Nuts
- Push 2-3 whole peanuts into the peanut butter, pressing down gently. Close the date around your filling and lightly pinch the edges.
- Cooling Step
- Put your filled dates on a parchment-covered tray, making sure they don't touch. Stick them in the freezer for 15-20 minutes until the filling gets firm.
- Getting Chocolate Ready
- Cut chocolate into small, even pieces so it melts evenly. Heat it in 30-second bursts, stirring between each until it's mostly melted, then stir until totally smooth.
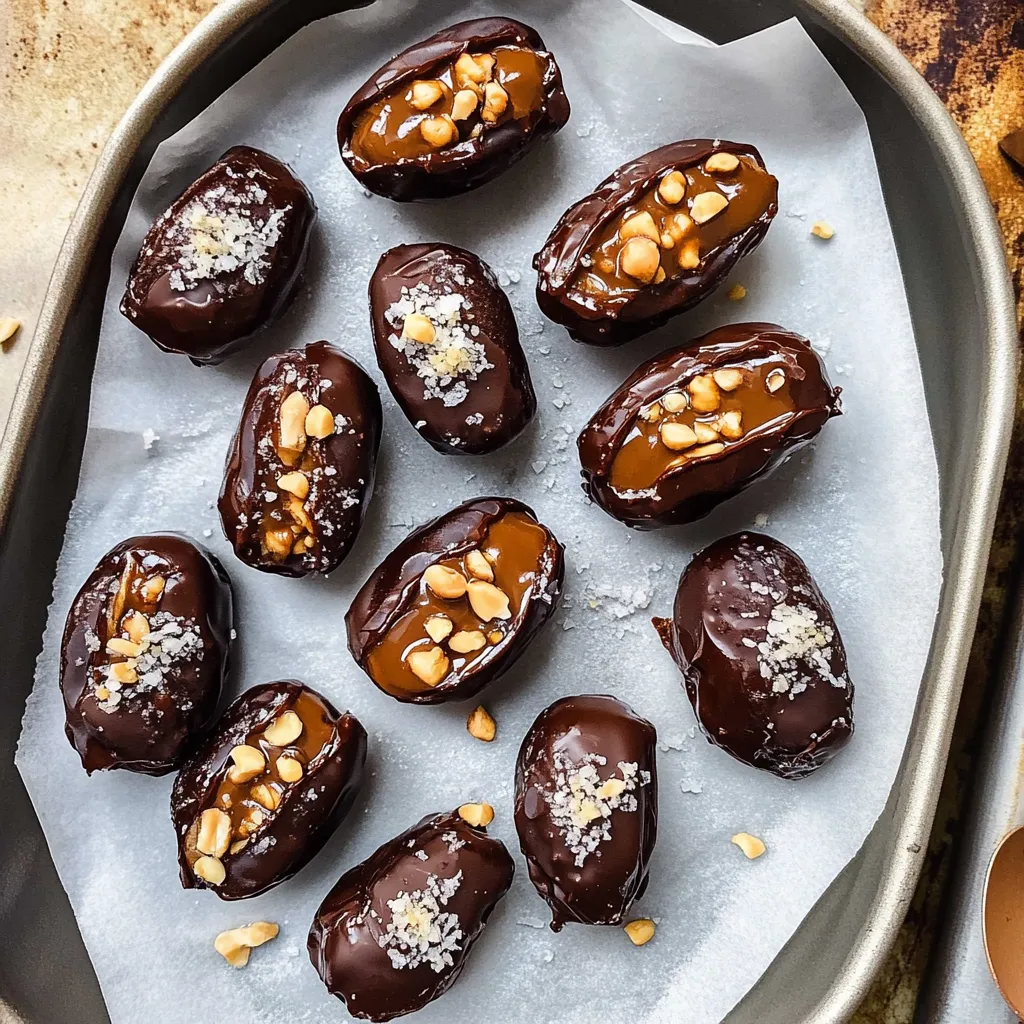
- Coating in Chocolate
- Take dates out of the freezer. Using two forks, dunk each date fully in chocolate, letting extra chocolate drip off naturally.
- Final Touches
- Sprinkle some Maldon salt on top while the chocolate is still wet. Put back in the freezer for 20-30 minutes until set.
 Pin it
I first tried making these during a health kick, but they've become so popular that my kids actually prefer them to store-bought candy bars now.
Irresistible Serving Ideas
They taste best slightly chilled. Put them on a wooden board for casual snacking or stack them on a fancy tiered plate when you want to impress guests.
Tasty Alternatives
You can switch things up to match what you like. Try almond butter with roasted almonds for a deeper, toastier flavor, or cashew butter with crushed cashews for something smooth with a light crunch. Don't eat nuts? Sunflower seed butter works great too, giving you a creamy texture with a subtle earthy taste.
Smart Storage Tips
Keep them in a sealed container in your freezer for up to 3 months. Let them sit out for 5 minutes before eating. Put parchment paper between layers so they won't stick together.
After making batch after batch, I've found that being patient during the freezing parts really makes the texture perfect. Every time I make these, they remind me that healthy snacks can be just as good as the real thing.
 Pin it
Frequently Asked Questions
- → Could I swap the peanut butter?
- Absolutely! You could use almond butter, cashew butter, or sunflower seed butter if you need a nut-free option.
- → Do I need to keep them cold?
- You can store them in the fridge, but keeping them in the freezer helps maintain their texture and extends their shelf life.
- → What dates work best for these?
- Medjool dates are a great choice because they’re bigger and softer, making them super easy to stuff.
- → How long can I store them?
- In an airtight container in the freezer, they’ll last for several weeks, ready to grab whenever you need a treat!
- → Can I make this allergy-friendly?
- Yes! They’re already dairy-free and gluten-free. Switch to seed butters and seeds for a nut-free version.