
 Pin it
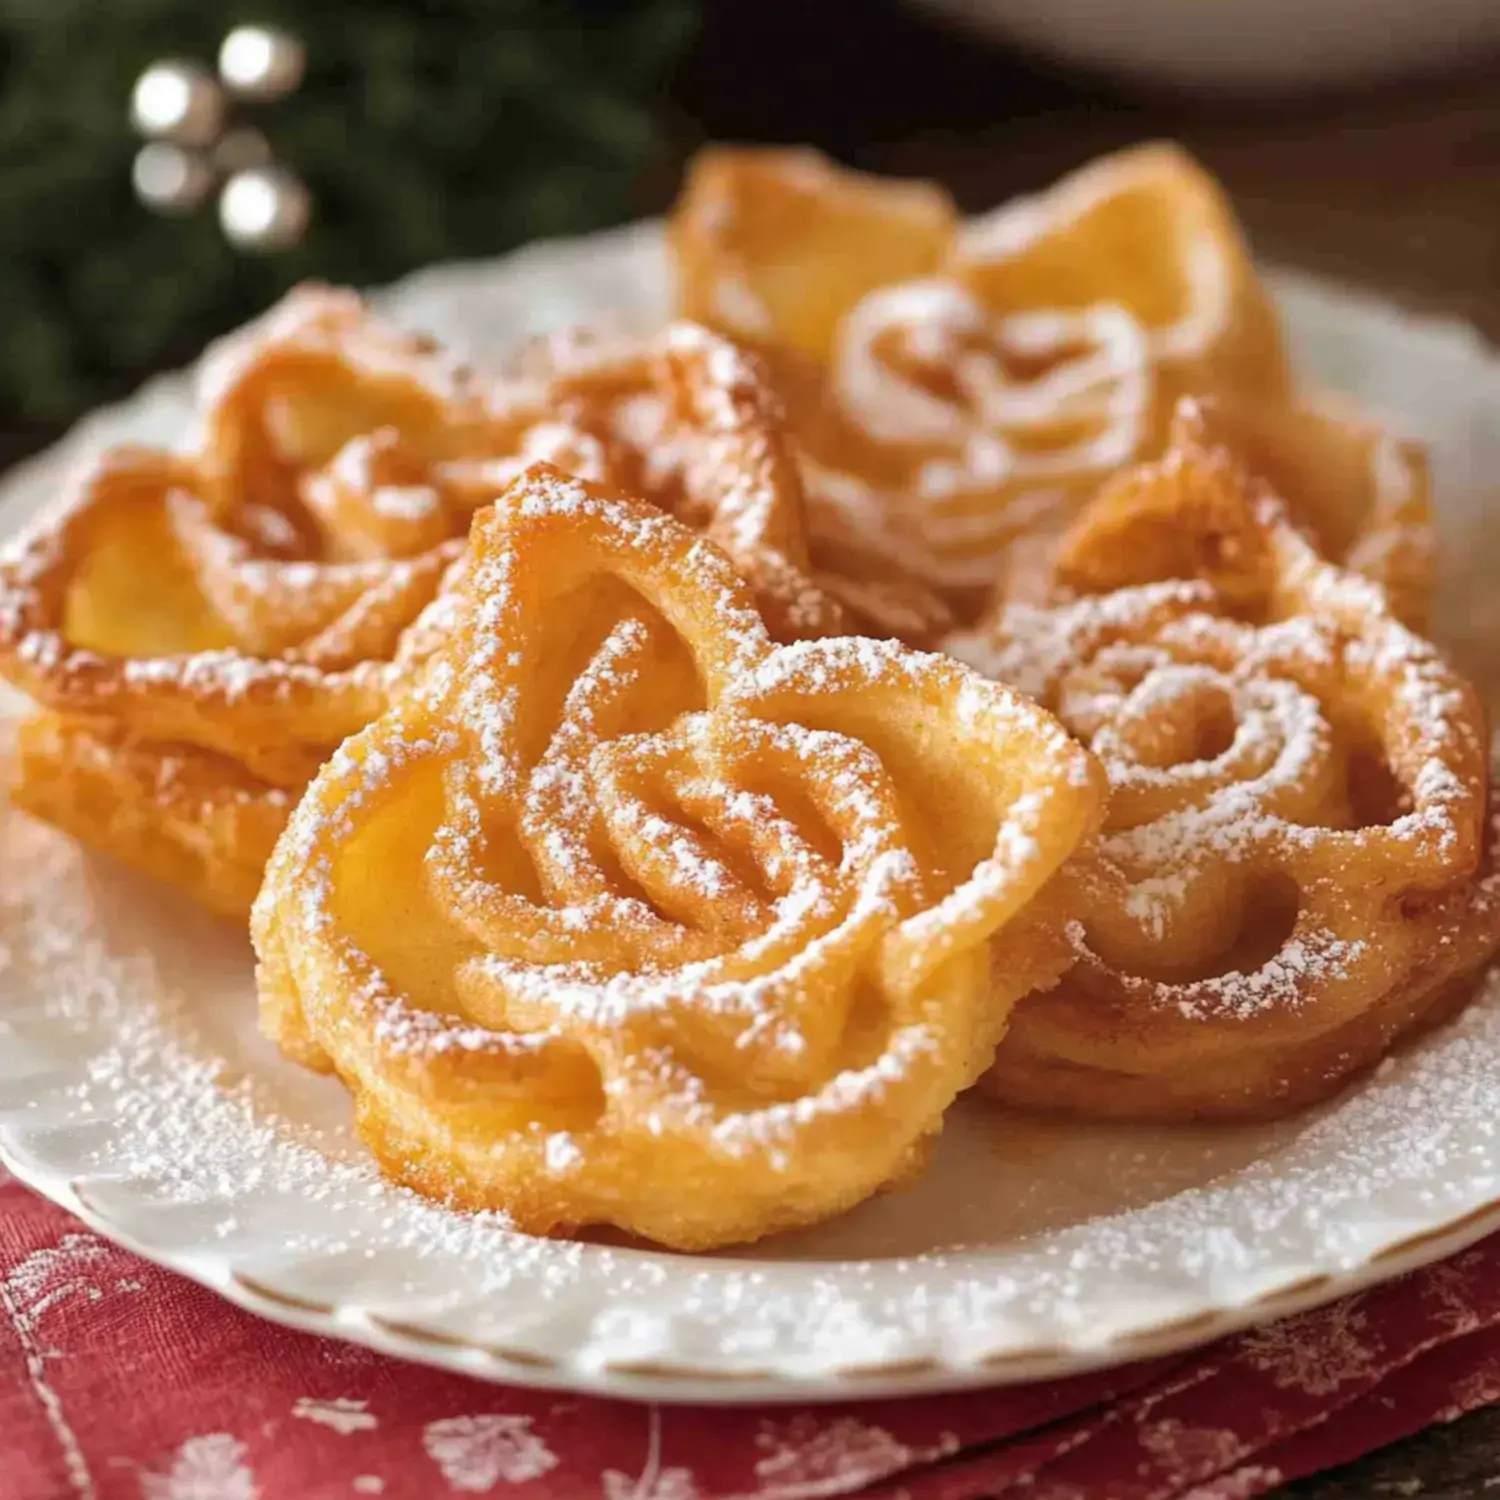
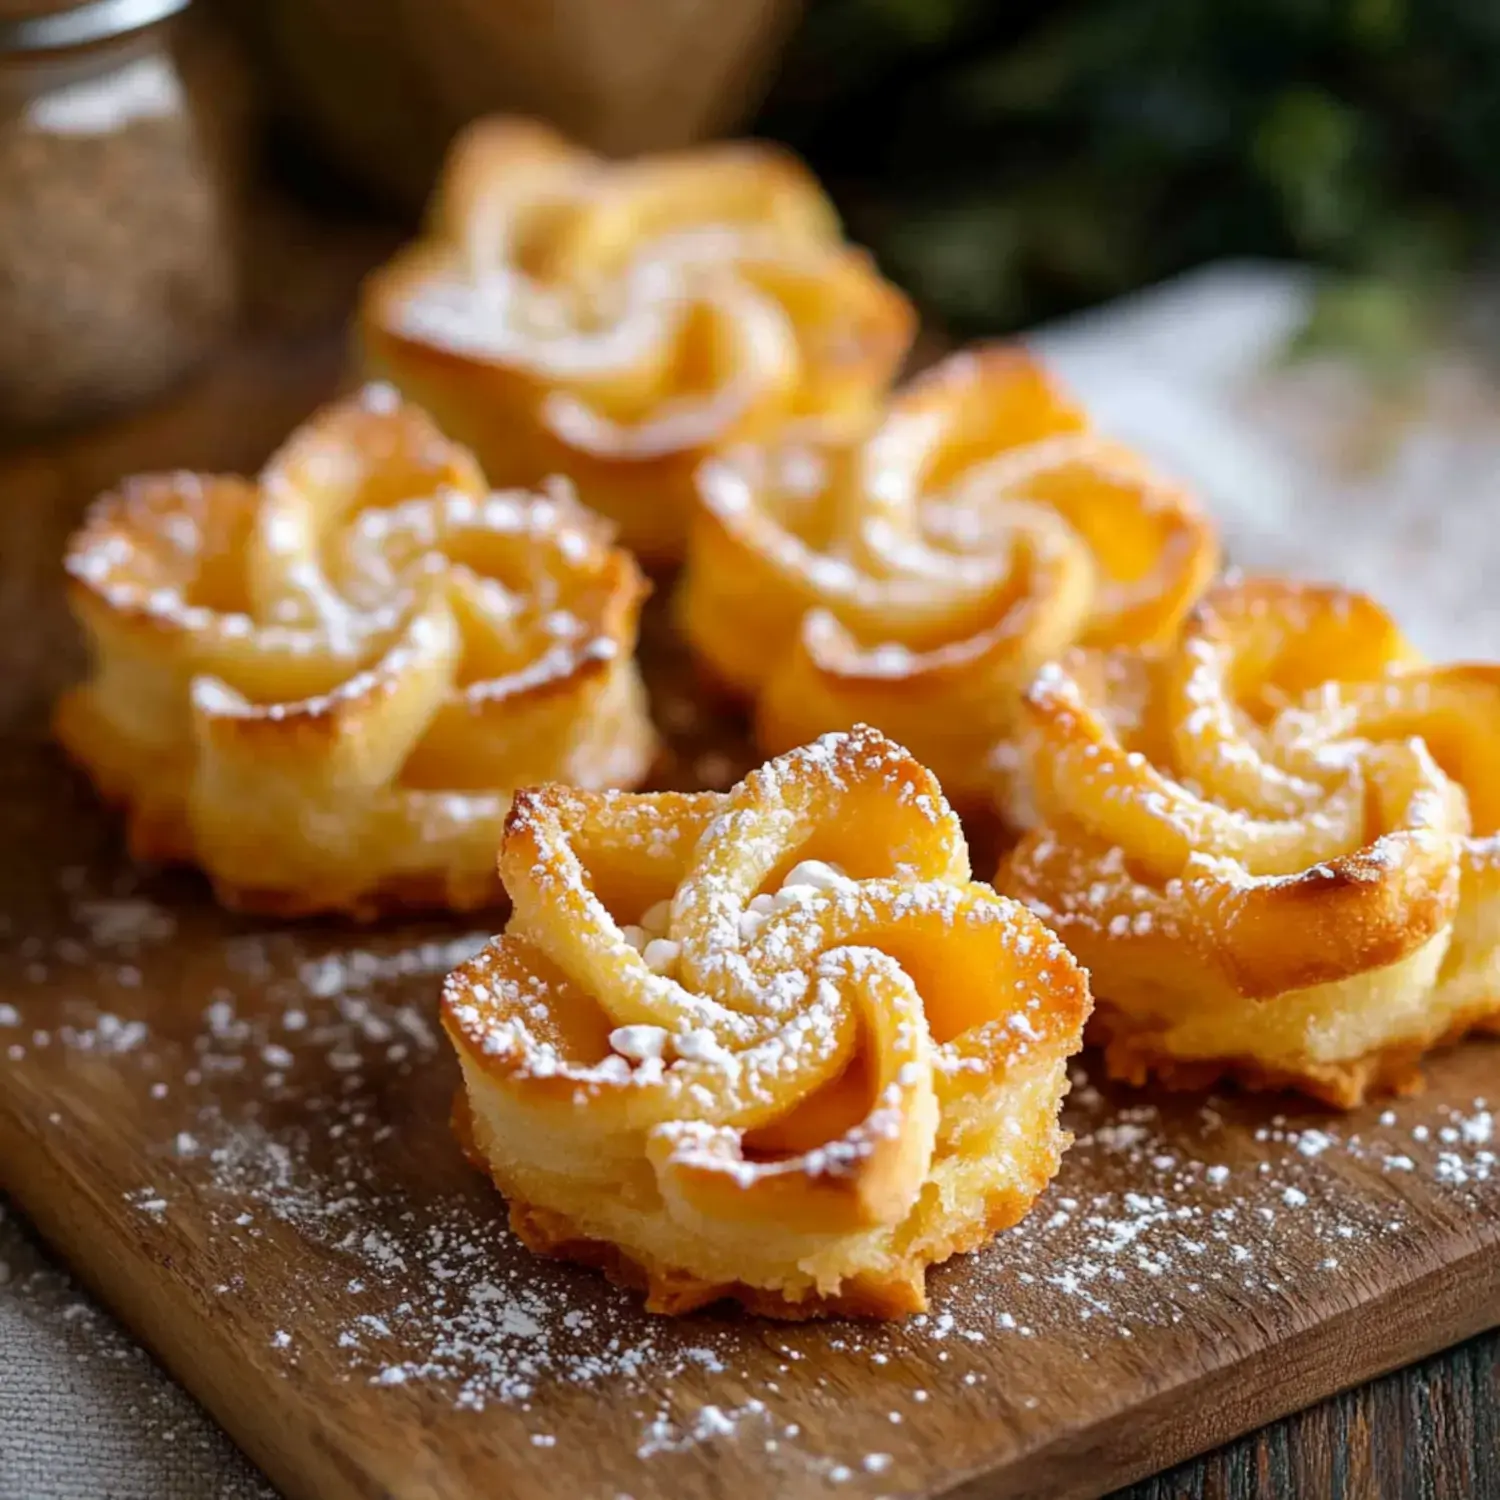
As I dig out my rosette iron each winter, happiness just bubbles up inside me. These lacy Nordic treats have become what everyone expects from me during the holidays. Watching simple batter turn into detailed stars and snowflakes seems like kitchen wizardry to me. When they're finished with a sprinkle of powdered sugar, they shimmer like freshly fallen snow.
Enchanting Festive Wonders
These treats add something magical whenever folks get together.
- Stunning Patterns: They look just like tiny masterpieces coming straight from your cooking space.
- Incredibly Adaptable: They work great as snacks or hanging decorations on my Christmas tree.
- Heritage Connection: Making them links me to past bakers who kept this custom going through time.
- Incredibly Delicate: That airy crunch sets them apart from other holiday sweets.
Cooking Steps
- Mix Your Batter
- Combine flour, milk, eggs, salt, and sugar with a whisk until it's lump-free. Let it sit for 30 minutes.
- Warm The Oil
- Get your frying oil hot to 375°F in a sturdy, deep cooking pot or fryer.
- Warm The Iron
- Soak the rosette iron in the heated oil for 1-2 minutes until it's completely hot.
- Dunk and Cook
- Put the warm iron into your batter, making sure it doesn't cover the top edge. Drop the batter-covered iron into hot oil and cook until golden, taking about 30 seconds to a minute.
- Rest and Finish
- Carefully take the rosette off the iron and place on paper towels to drain. After they've cooled down, sprinkle with powdered sugar.
Smart Suggestions
- Your batter should stay smooth without any lumps for the nicest outcome.
- Don't forget to warm up the rosette iron before you dip it in batter so it sticks correctly.
- Keep your oil at a steady 375°F to avoid making soggy or patchy rosettes.
My Cooking Tricks
- Oil Choice: I've found canola gives me the steadiest results.
- Temperature Check: My candy thermometer stays in the pot the whole time I'm frying.
- Hot Tool Tips: When the iron is properly heated, you'll get perfect shapes every single time.
- Uniform Browning: I softly turn each one for that perfect golden shade.
- Sugar Timing: Waiting for them to cool completely before adding sugar really makes them special.
Fond Recollections
Creating rosettes sends me straight back to my childhood, watching Mom and Mrs. Homer in our kitchen each December. That smell of warming lard would fill our home while they talked and fried batch after batch. We kids couldn't resist those sweets tucked away in the freezer and always found ways to grab some, leaving powdery sugar trails as evidence.
Storage Smarts
I've figured out you can make these early and store them in the freezer between wax paper sheets. Just wait to add sugar until you're ready to eat them. They'll stay good this way for two months and taste just as crunchy when they thaw out.
Required Tools
- A good quality rosette iron with both star and snowflake shapes.
- My trusty deep cooking pot that holds heat really well.
- A good candy thermometer for getting the right heat.
- Lots of paper towels and my wire cooling grid.
- The sugar shaker from my grandma that leaves the prettiest dusting.
 Pin it
Frequently Asked Questions
- → Why won’t batter stick to my mold?
Make sure your mold is properly heated and lightly greased. Wipe off extra oil if there’s too much, and heat until warm—not smoking.
- → Is a rosette mold necessary?
Yes, the unique shape needs this special tool. You can find molds online or at kitchen supply shops.
- → What makes my rosettes soft, not crunchy?
The frying oil must stay around 375°F. If it’s too cool, they may turn soggy, and too hot can burn them quickly.
- → What’s the best way to store them?
Seal them in an airtight container and freeze if needed for up to 2 months. Add powdered sugar only before serving.
- → Why are my rosettes falling off the mold?
Don’t dip the mold too deeply into the batter—stay just below the top edge. Also, overly thin batter might not stick well.
Conclusion
Golden and light, these delightful fried treats are crafted with a special iron mold. Powdered sugar finishes them off, making them perfect for festive times.