
 Pin it
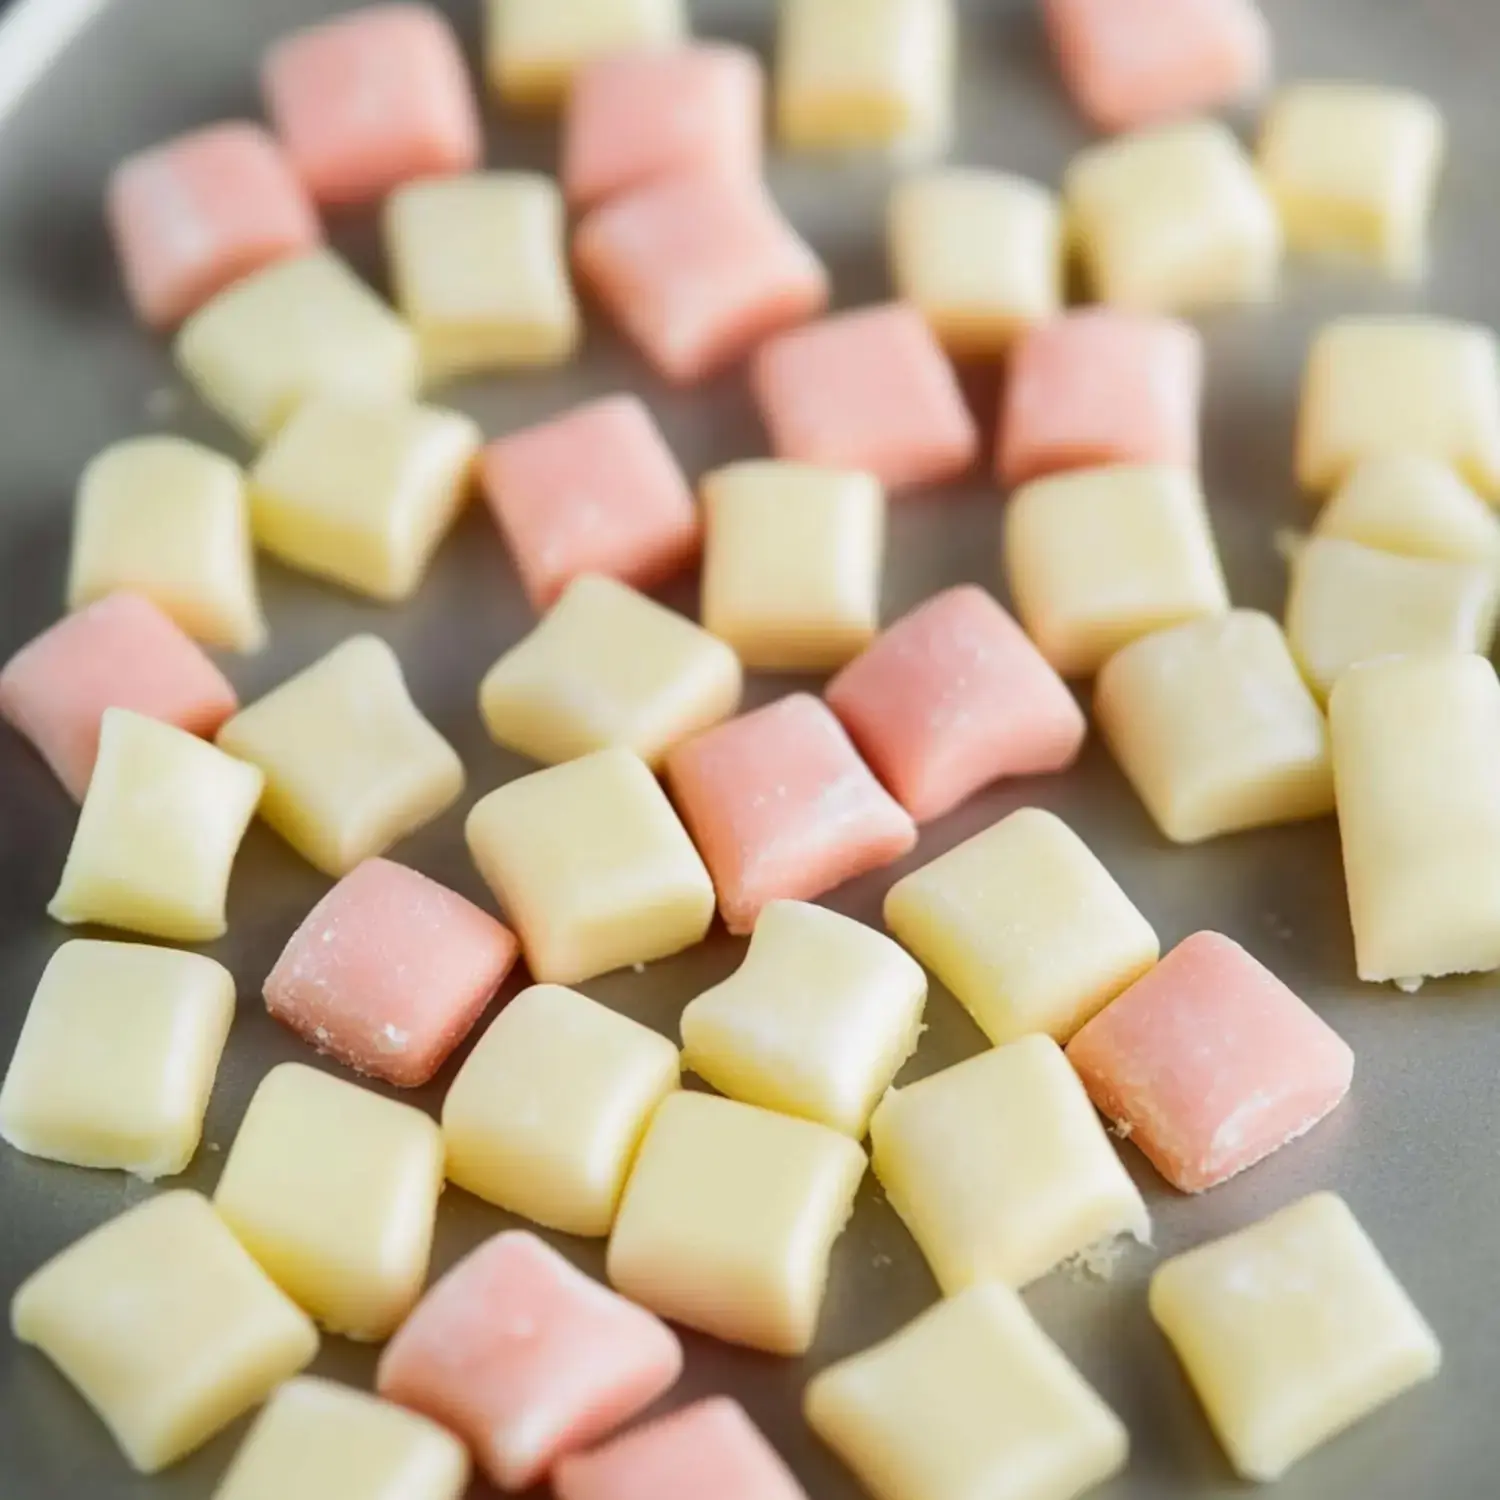
I started making butter mints when I wanted to bring back those soft, dreamy candies from celebrations in my younger days. They've now turned into our family's go-to treat for special moments. The way they dissolve on your tongue with that lovely mix of creamy butter and cool peppermint makes each tiny bite feel special. They're also super fun to create with kids helping in the kitchen.
Treasured Traditions Freshly Crafted
The best thing about these little mints is how they connect past memories while building new ones. That smooth, melt-away texture and light minty taste instantly takes me back to happy gatherings. Now whenever we whip up a batch, my kitchen transforms into a tiny candy factory with everyone picking their own color favorites.
Your Supply List
- Unsalted Butter: Softened quarter cup, not too warm.
- Tiny Bit of Salt: Brings all flavors together nicely.
- Confectioners' Sugar: Four cups, run through a sifter for best results.
- Mint Extract: Get the real stuff, it really counts.
- True Vanilla: Gives a wonderful background note.
- Whipping Cream: Creates that super smooth feeling.
- Colorings: To make them pretty and festive if you want.
 Pin it
Creating Sweet Wonders
- Beginning Your Mix
- See the butter and sugar turn fluffy and light in the mixer. Each thing you add brings its own special something until you've got a mix that feels like soft modeling clay.
- Finding Perfect Balance
- You might need extra sugar or a splash more cream as you go along. Your hands will tell you when it's just right.
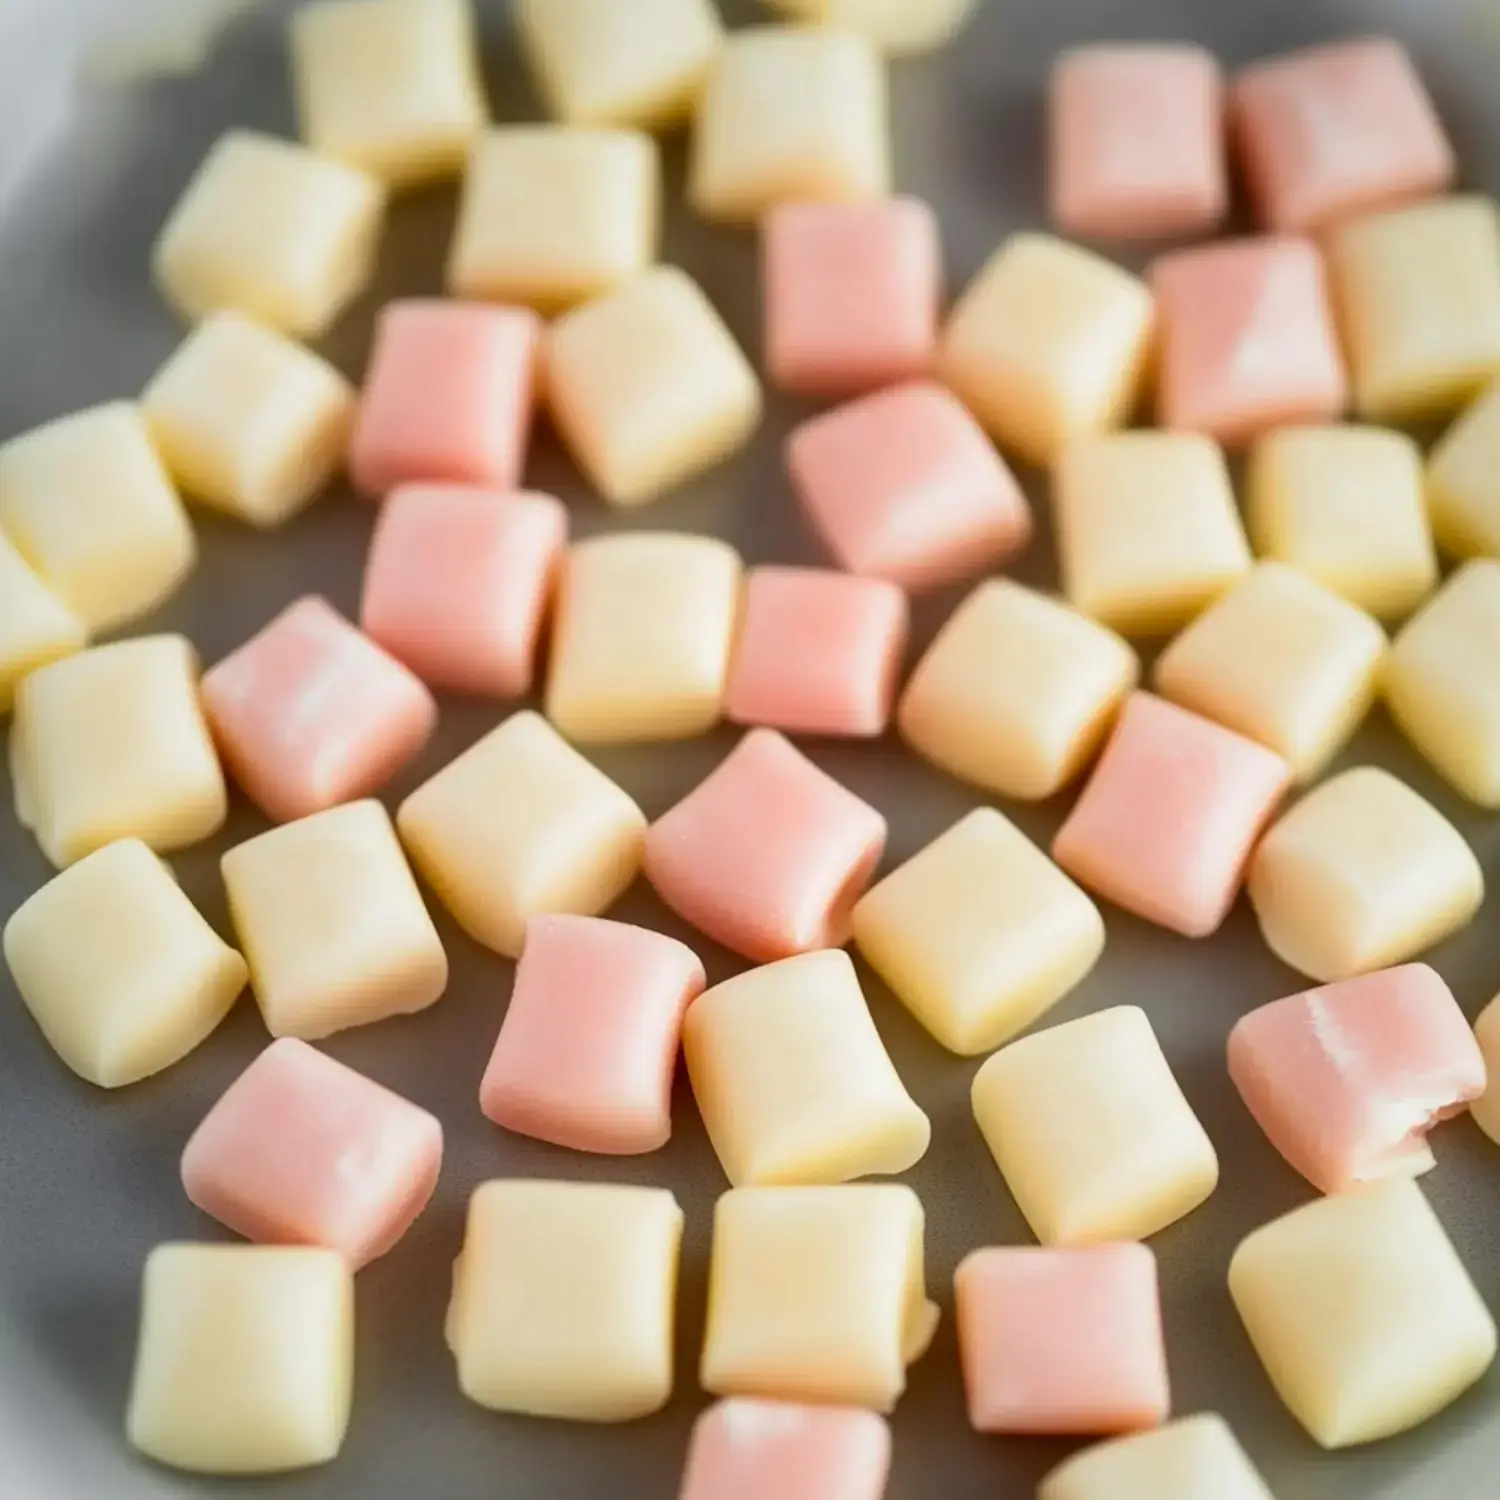
- Forming Your Treats
- Shape these sweet bits however makes you happy. My grandma used to form tiny flowers but I usually go for simple balls or little logs.
- The Waiting Game
- Let them sit overnight to firm up properly. Waiting isn't easy but you'll get that amazing texture that makes them special.
Insider Tips
Getting your butter just the right softness matters so much too warm and your mix gets sticky too cold and it won't blend. Add the sugar bit by bit taking your time. If something seems off just a tiny bit more cream or sugar can fix everything.
Put Your Stamp On Them
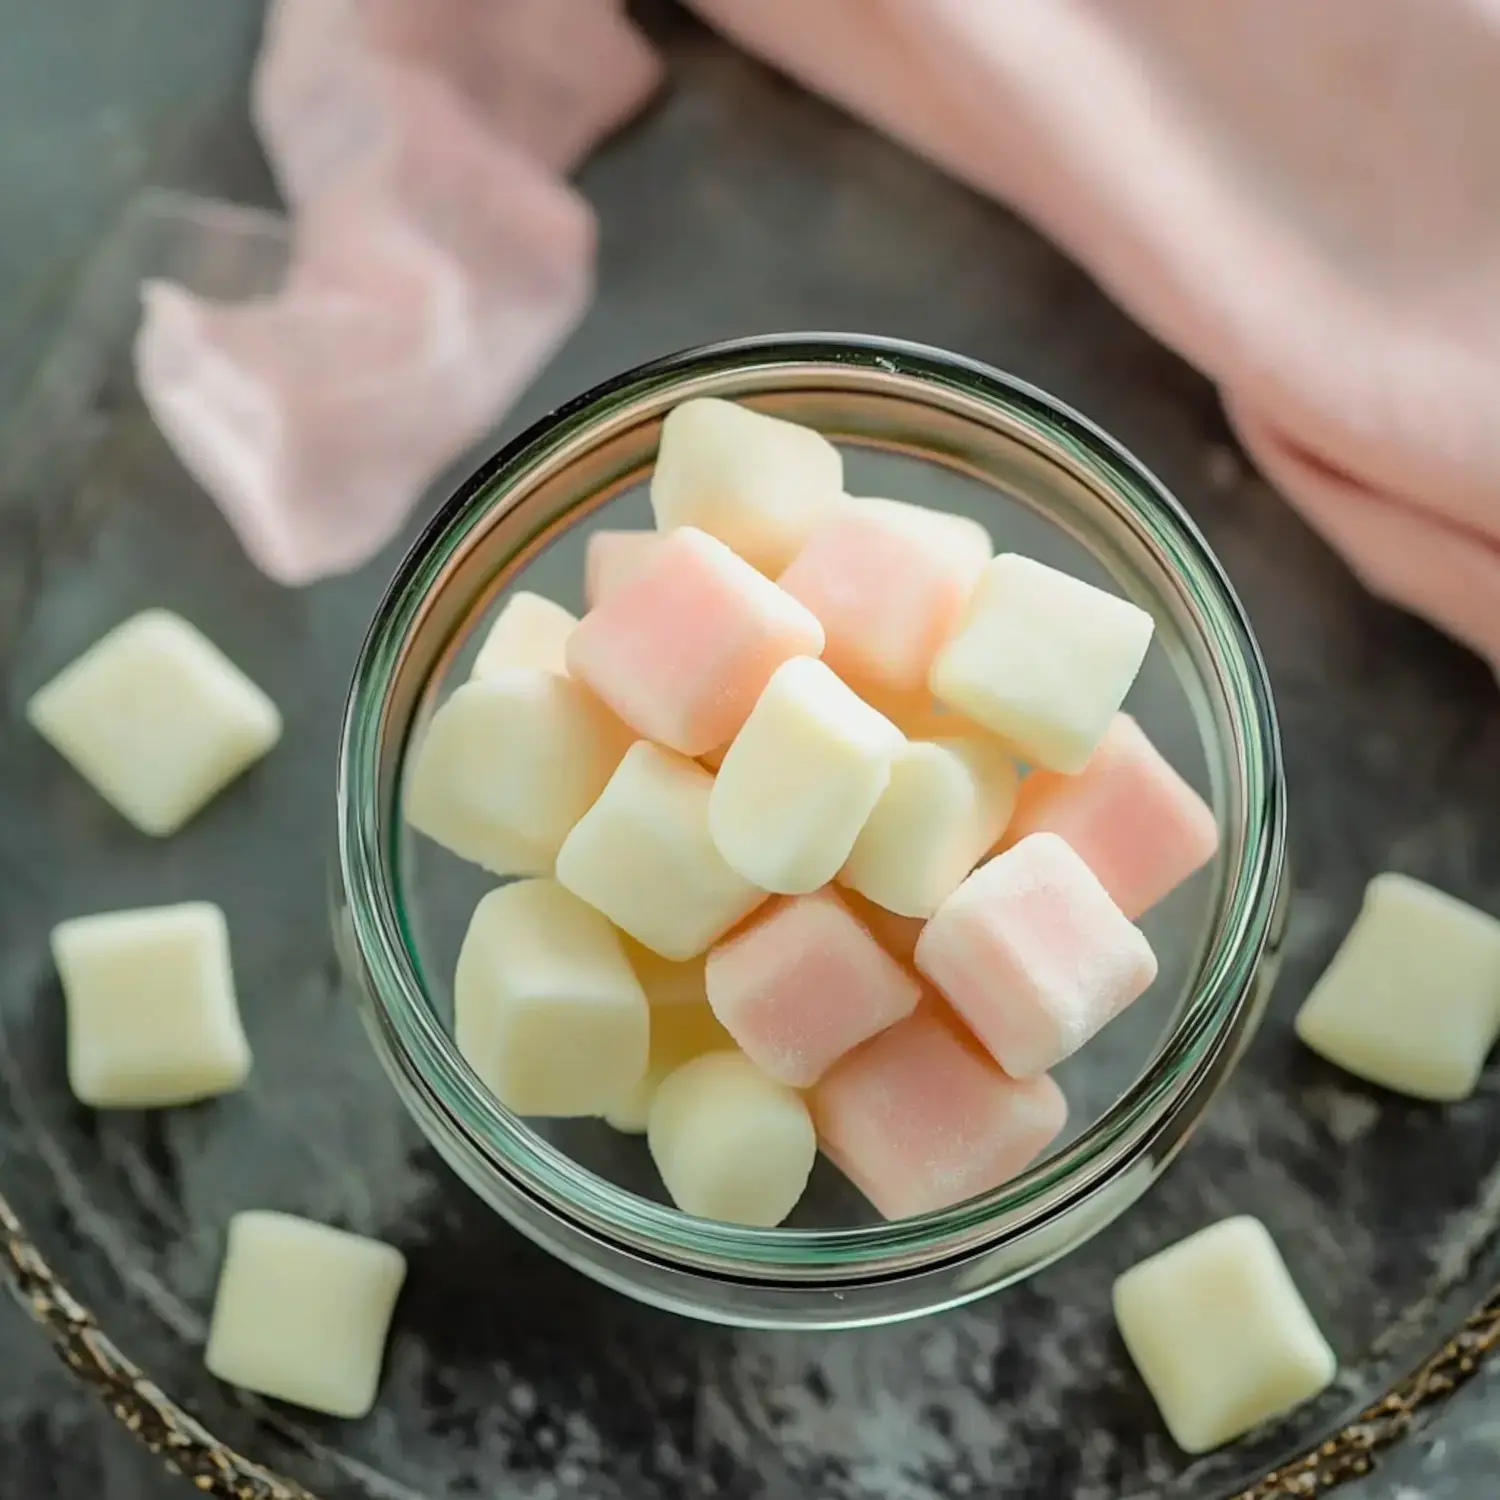
Sometimes we color them soft pink for welcoming babies other times gentle blue for wedding parties. My girl throws in coconut flavoring while my boy can't get enough of almond. Every batch turns out uniquely yours that's what makes these sweets so fun.
Storage Solutions
These small delights stay good in an airtight box for about two weeks at room temp. Stick them in your fridge and they'll last even longer. I always keep some tucked away in the freezer for surprise guests they defrost perfectly.
Celebration Must-Haves
From my cousin's bridal party to regular family dinners these tiny mints make occasions feel extra nice. I love that I can make them days before giving me time to enjoy company when it arrives. Sometimes I arrange them in fancy patterns on plates watching people smile when they spot them.
The Universal Appeal
There's something about these candies that gets people talking and grinning. Maybe they remind folks of happy times or maybe it's just how they melt away so nicely. Whenever I serve them someone shares a sweet story about similar treats their family used to make.
Your Personal Touch
The best part about these mints is how easily you can make them your own. A tiny bit of color here a different flavor there and suddenly they're completely unique. For my sister's baby surprise party we quietly made batches in hidden shades of pink and blue watching everyone's faces light up with the reveal.
Staying Power
In a good container these sweet bits stay fresh for weeks on end. My hidden stash in the fridge goes even further. And those special batches wrapped up in the freezer? They're like finding a forgotten gift months later still tasting just right.
Small Steps Big Difference
Using butter at exactly the right temperature changes everything about how these turn out. Mixing in sugar slowly takes more time but gives you the creamiest result. These tiny tricks I've figured out over time turn simple mints into unforgettable treats that folks ask for again and again.
 Pin it
Frequently Asked Questions
- → Why are they left uncovered to set?
Air drying gives them that perfect melt-in-your-mouth texture. Covering them traps moisture, which ruins the result.
- → Can I prepare them early?
Absolutely! Store at room temperature for two weeks or refrigerate for a month. Use airtight containers with wax paper between layers.
- → What if my dough sticks?
Sticky dough? Gradually add powdered sugar until it's no longer tacky, like soft playdough. Humidity can mess with the texture.
- → Can I swap out the flavor?
Certainly! Try extracts like spearmint or wintergreen instead of peppermint. Swap in equal amounts for the best results.
- → Why use a mixer for this?
The dough thickens a lot, so hand mixing is tough. Stand mixers work best, but hand mixers can get the job done with effort.