
 Pin it
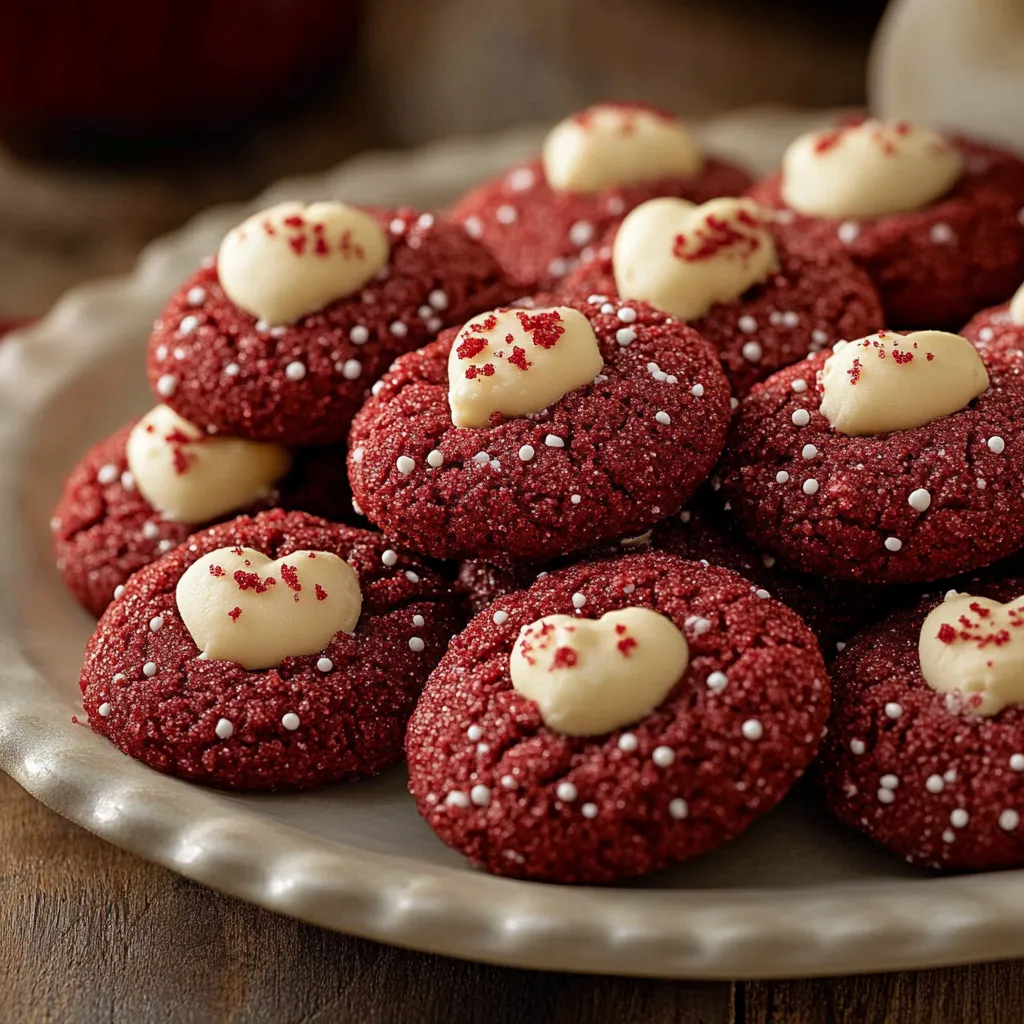
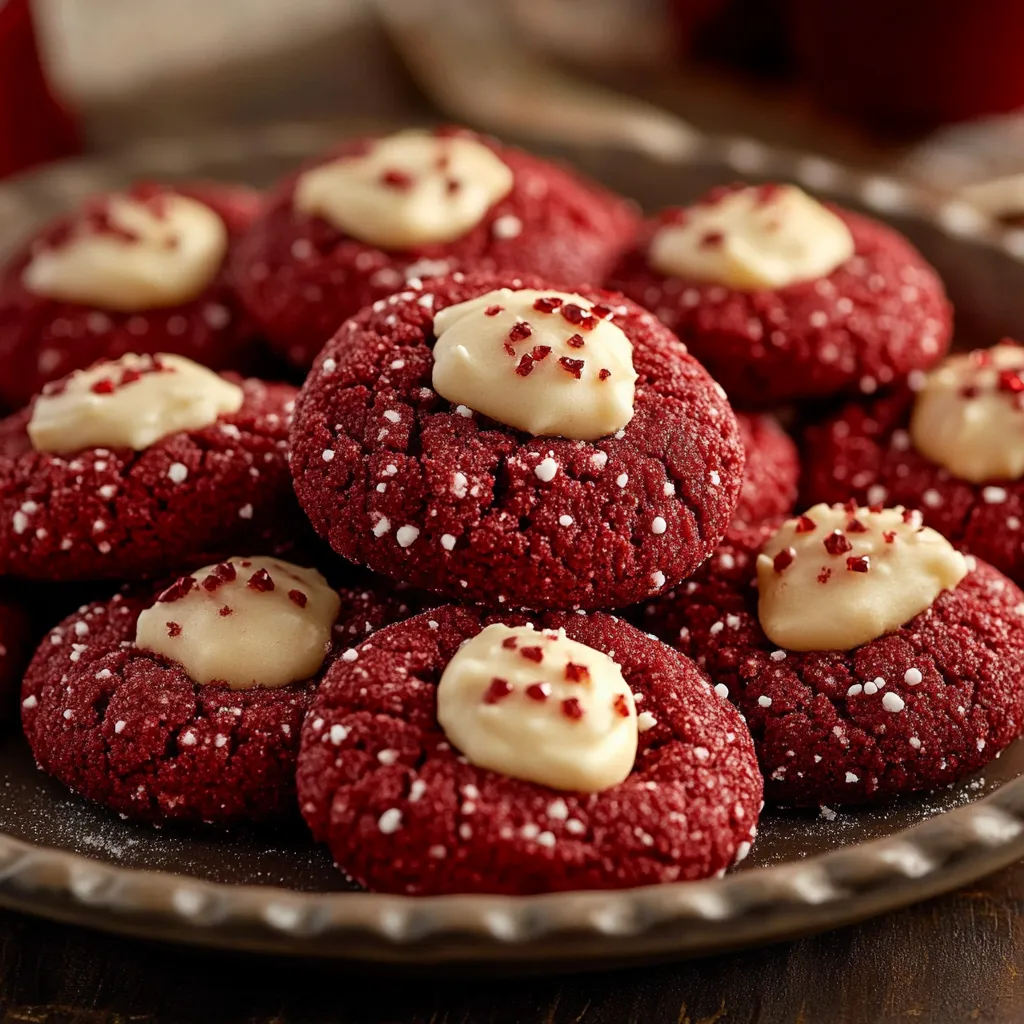
The vibrant Red Velvet Blossom Cookie mixes thumbprint cookie charm with red velvet richness, making a treat that's both gorgeous to look at and amazing to taste. The sparkly red base with a chocolate kiss on top creates an attention-grabbing sweet that's perfect for any celebration.
While baking these during the holidays, I found out that keeping the kisses cold before using them really helps them keep their shape when pushed into the just-baked cookies - totally changed how good they look.
Key Components & Smart Picking Advice
- Butter: Must be soft for proper mixing
- Cocoa Powder: Use natural type for true red velvet look
- Food Coloring: Pick gel types for deep color without messing up the mix
- Sanding Sugar: Bigger crystals give the best shine
- Hershey's Kisses: Keep them cold for easier handling
Step-by-Step Cookie Making Guide
- Step 1: Make a Fluffy Start
- Whip the butter until soft and airy. Mix in sugars bit by bit while beating. Keep going until the mix gets lighter. Don't forget to clean the sides of the bowl often.
- Step 2: Create Your Mix
- Blend in egg yolk and vanilla well. Add your color slowly. Combine dry stuff in another bowl. Mix them in carefully just until everything comes together.
- Step 3: Form With Precision
- Use the same size scoop each time. Make perfectly round balls by rolling between palms. Cover fully with sugar. Leave enough room between cookies on the tray.
- Step 4: Nail the Cooking Time
- They should spread a little. Look for a non-shiny top. Pull them out while still soft in the middle. Put kisses in right away.
- Step 5: Cool Properly
- Let them firm up completely. Move to cooling rack after waiting 5 minutes. Be careful when moving warm cookies. Store without stacking.
What I love most about making these treats is seeing kids get excited when they spot the shiny red cookies topped with chocolate kisses.
The Color Magic
Mixing in cocoa powder before adding the food coloring helps you get that true red velvet shade without dumping in tons of dye.
 Pin it
The Perfect Consistency
Getting cookies that are just soft enough to add the kiss but still firm enough to stay shaped needs just the right timing.
After baking these cookies through many holiday times, I've noticed they're more than just sweets - they're little moments of happiness that bring smiles to both the people who make them and those lucky enough to eat them.
Frequently Asked Questions
- → Is it okay to prepare the dough early?
- Definitely! Store the dough in the fridge for up to 2 days. Before shaping and baking, let it warm back to room temperature.
- → Why not bake the chocolate kisses with the cookies?
- Adding kisses to hot cookies makes them stick without melting completely. The heat helps them hold perfectly in place.
- → Are these cookies freezer-friendly?
- Yes, they freeze nicely up to 3 months. Layer them in an airtight container with wax paper to protect the chocolate.
- → What can I use if I don't have red sanding sugar?
- Granulated sugar works too! You can even switch to colored sugars for other festivities or themes.
- → Why did my cookies flatten too much?
- Make sure the butter isn't overly soft and the dough isn't too warm. Try chilling it for 30 minutes before baking.