 Pin it
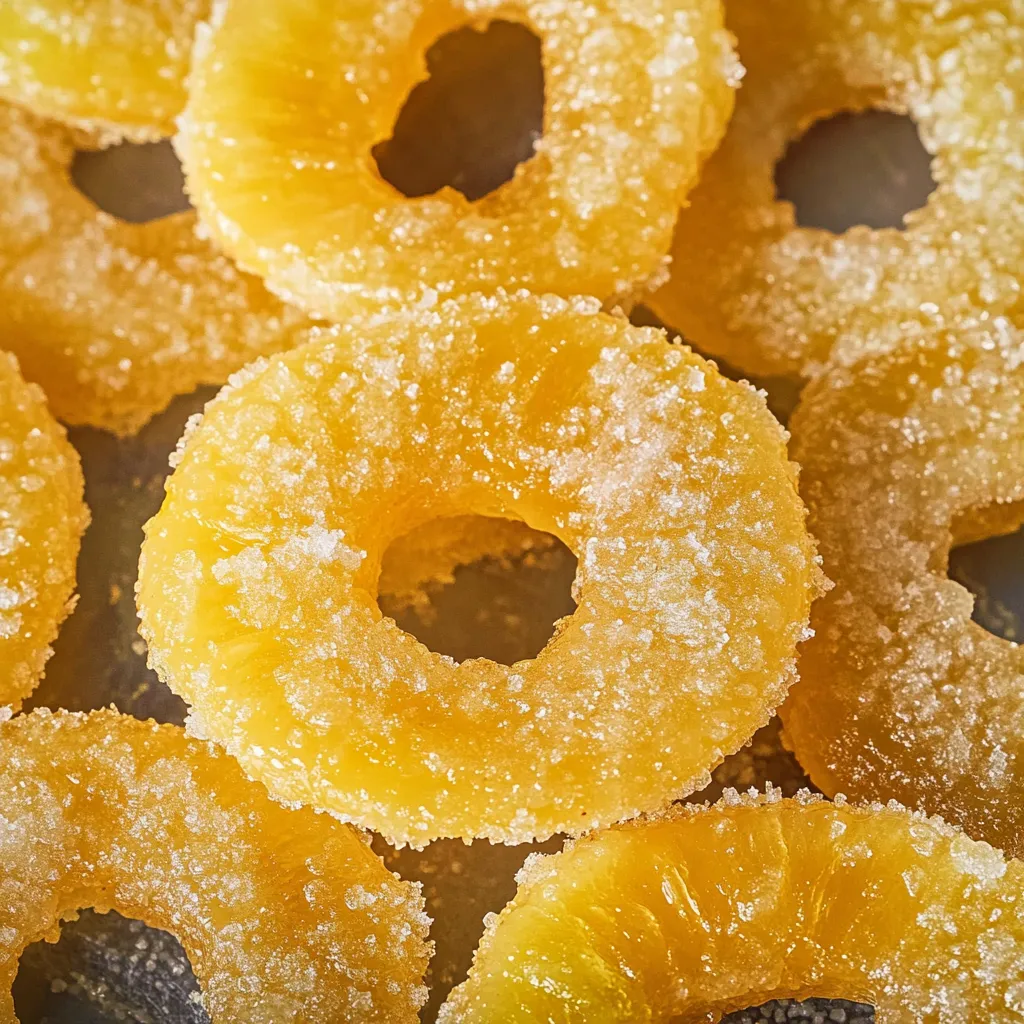
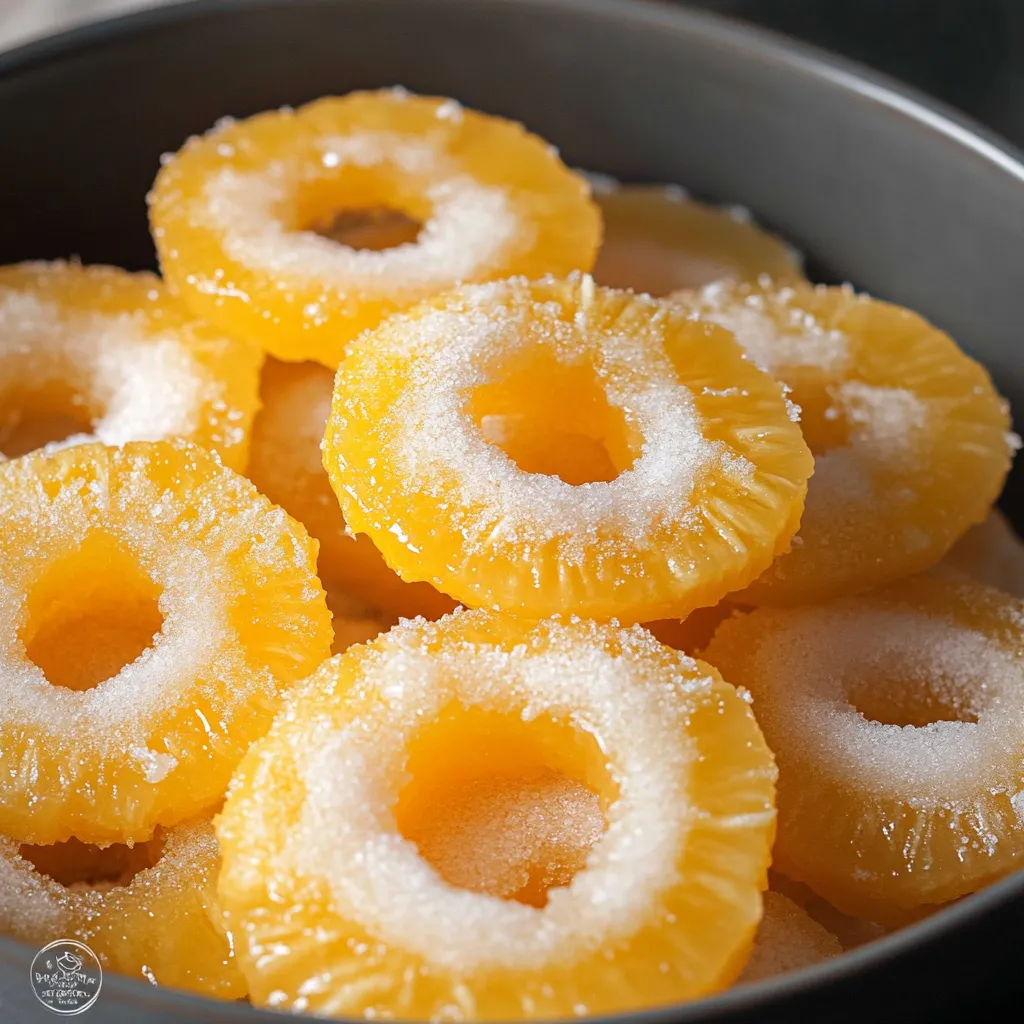
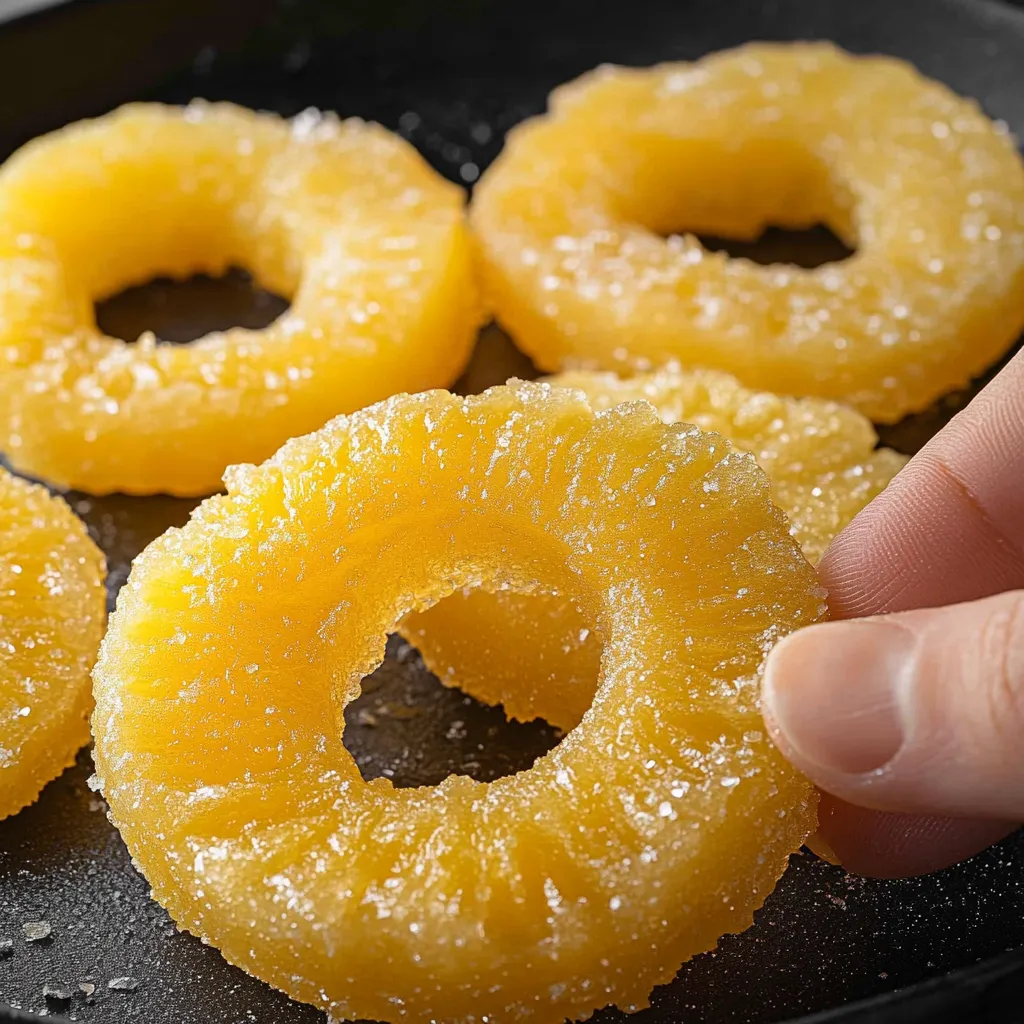
Tangy pineapple rings dipped in sugar offer that perfect mix of tropical sweetness and chewy goodness that's hard to turn down. This DIY version turns ordinary pineapple into glittering, sugar-coated delights with just a handful of common items. The gradual cooking intensifies the natural fruity taste while the sugar outer layer brings a satisfying crackle that'll keep you coming back for more.
During last year's holiday season, I whipped up multiple rounds of these sugar-coated pineapple rings for gift collections. Everyone was shocked they weren't store-bought - my buddy was totally convinced I'd gotten them from some fancy shop! The trick is giving enough time for the slow cooking to do its thing.
Key Components
- Pineapple: Fresh or from a can, pick firm, mature fruit. When buying fresh, look for a sweet smell at the bottom and golden color
- White Sugar: Plain granulated sugar does the job best. The small grains make that perfect crystal coating
- Light Corn Syrup: This stops sugar from forming crystals while cooking and helps create that signature chewy feel
- Pineapple Juice: When using fresh fruit, keep the middle and extra bits for juicing. With canned, hang onto the liquid it comes in
 Pin it
Complete Preparation Guide
- Get Your Pineapple Ready:
- With fresh pineapple, cut into even 1/2-inch circles after taking out the middle. For canned, drain but keep all that tasty juice. Gently blot each ring with paper towels to take off extra wetness. Set up cooling racks and parchment paper in your work area.
- Mix Up The Sugar Solution:
- Put 2 cups sugar, 1 cup pineapple juice, and 1/4 cup corn syrup in a big, sturdy pot. Warm it on medium, stirring softly until all sugar melts away. Let it bubble gently - don't let it boil too hard or crystals might form. Watch it turn light amber, around 5 minutes.
- Sugar-Coat Your Pineapple:
- Using tongs, slowly put pineapple rings into the warm syrup. Keep heat steady at a low bubble. Turn rings every 15 minutes so they coat evenly. Keep this up for about an hour until rings look see-through and shiny.
- Let Them Dry Out:
- Cover your cooling racks with parchment paper. Take out rings one by one, letting extra syrup drip off. Put them on the ready racks with gaps between. Let them dry fully - this might take 8-12 hours at normal room temp.
My gang can't get enough of these cut up and stirred into our homemade coconut ice cream. The chewy bits of sugared pineapple make such a cool contrast against the smooth, rich ice cream.
Fun Ways To Use Them
- Toss into your morning hot cereal for a sweet island kick
- Cut into tiny bits to decorate drink glasses at summer get-togethers
- Mix into your muffin or cake batter for extra flavor and texture interest
Keeping Them Fresh
- Keep at room temp in a glass container with parchment between each layer
- Don't put in the fridge, as this makes the sugar coating get sticky
- When stored correctly, sugared pineapple stays good up to three weeks
Present Them Nicely
- Place them in an old-fashioned tin box for a fancy look
- Put parchment paper between rows so they don't stick together
- Mix with dark chocolate-covered almonds for fancy present baskets
Smart Cooking Advice
- Don't turn up the heat trying to rush things - taking your time matters
- If the rings start getting too brown, turn down the heat right away
- Keep that leftover sweet syrup to flavor cold tea or mixed drinks
After making this recipe again and again, I've grown to love not just the final treats but also how calming the whole process feels. There's something really rewarding about changing plain pineapple rings into these glowing, golden morsels. Whether they're just for you or meant as gifts, the care you put in will show up in every sweet, chewy bite.
 Pin it
Frequently Asked Questions
- → Would fresh pineapple work for this?
- Sure! Fresh has more tang and chew, while canned makes a lighter, sweeter result.
- → How can I tell if it’s dry enough?
- It shouldn’t feel sticky at all. If it is, give it more time to fully dry or use an oven on low.
- → How long can I store it?
- If sealed in an airtight container, it’ll keep for about a week when properly dried.
- → Can I use this for cakes or cookies?
- Absolutely! You can swap this homemade version for store-bought in recipes like fruitcake or cookies.
- → What’s a faster way to dry them?
- Speed it up by placing them on a rack in the oven at 200°F for 30 minutes, or use a dehydrator.
