
 Pin it
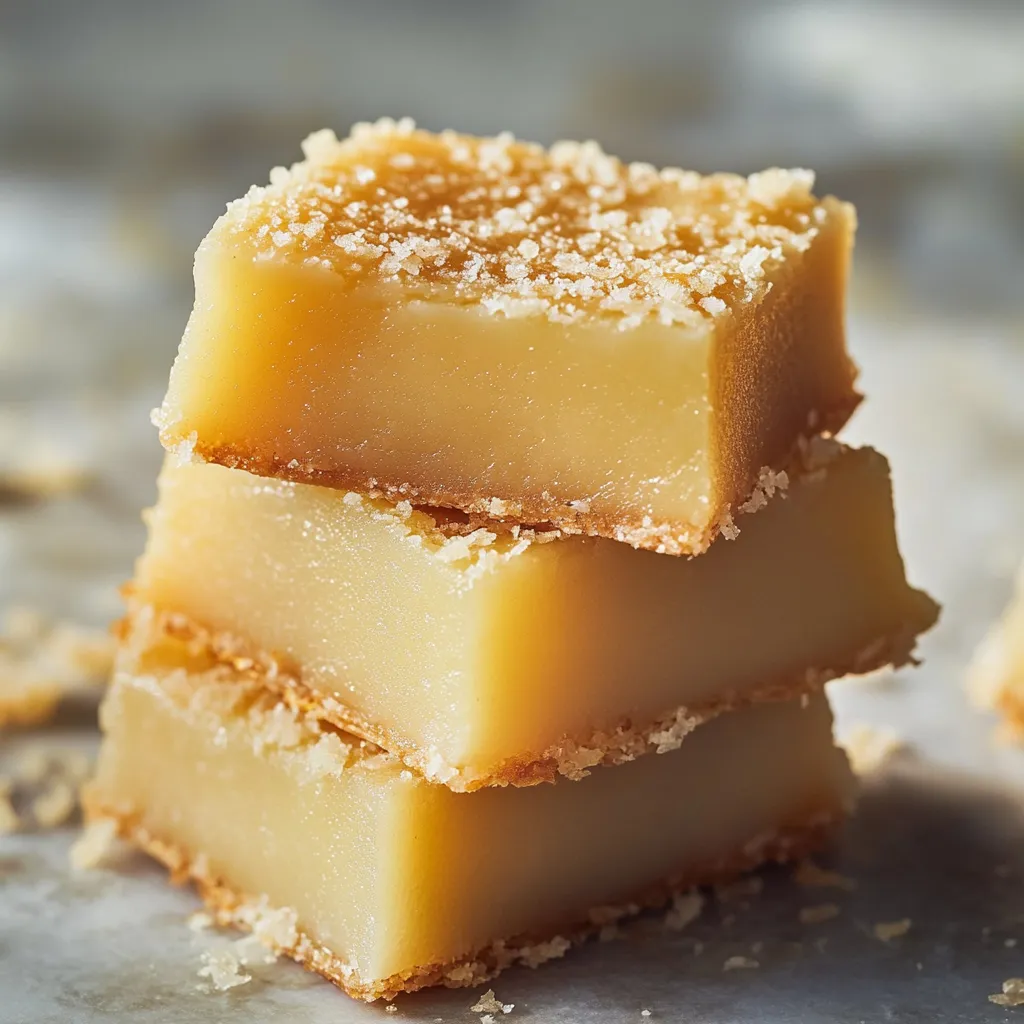
This beloved Hawaiian sweet treat turns basic ingredients into a deliciously chewy, coconut-infused delight that perfectly combines sweetness and texture. Every mouthful delivers soft mochi wrapped in an irresistible crispy, golden outer layer.
I whipped this up for my neighbor's Hawaiian-themed get-together last week, and folks couldn't believe how the coconut exterior created such a wonderful contrast with the chewy inside. Even the mochi first-timers kept coming back for more.
Ideal Components Selection
- Mochiko (Sweet Rice Flour): 1 box (16 ounces/454g), Gives that distinctive chew and works as the main base
- Unsalted Butter: 1 cup (226g), melted and cooled, Adds richness and helps form those tasty crisp edges
- Granulated Sugar: 2 cups (400g), Works with the coconut for just the right sweetness
- Whole Milk: 1 cup (240ml), Brings creaminess and helps make that custard-like bite
- Large Eggs: 4, room temperature, Holds everything together and builds structure
- Unsweetened Coconut Milk: 1 can (13.5 ounces/400ml), Brings that real island taste and smooth texture
- Baking Powder: 2 teaspoons, Provides subtle lift without making it too fluffy
- Pure Vanilla Extract: 1 tablespoon, Makes all other flavors pop
- Kosher Salt: 1 teaspoon, Cuts the sweetness and boosts the coconut flavor
- Unsweetened Shredded Coconut: 1 cup (85g), Creates that wonderful crust magic
- Flaky Sea Salt: 1/2 teaspoon (optional), Brings elegance and sharpens flavor differences
Making Your Mochi
- Setup:
- Warm your oven to 350°F (175°C). Butter a 9x13-inch metal baking dish thoroughly, making sure to cover all spots.
- Mix Dry Stuff:
- Combine mochiko flour, sugar, baking powder, and kosher salt in a big bowl until fully mixed with no clumps.
- Mix Wet Stuff:
- In another bowl, beat eggs well. Add milk and vanilla, mixing until everything looks smooth.
- Combine Everything:
- Pour wet stuff into dry stuff, stirring well with a wooden spoon. You can mix hard since mochiko doesn't have gluten.
- Finish Up:
- Add melted butter and coconut milk to your mixture. Stir until you get a smooth, pourable batter. Pour into your buttered pan, then tap it firmly on the counter to get air bubbles out. Sprinkle coconut evenly on top, then add a light sprinkle of flaky salt if you want.
 Pin it
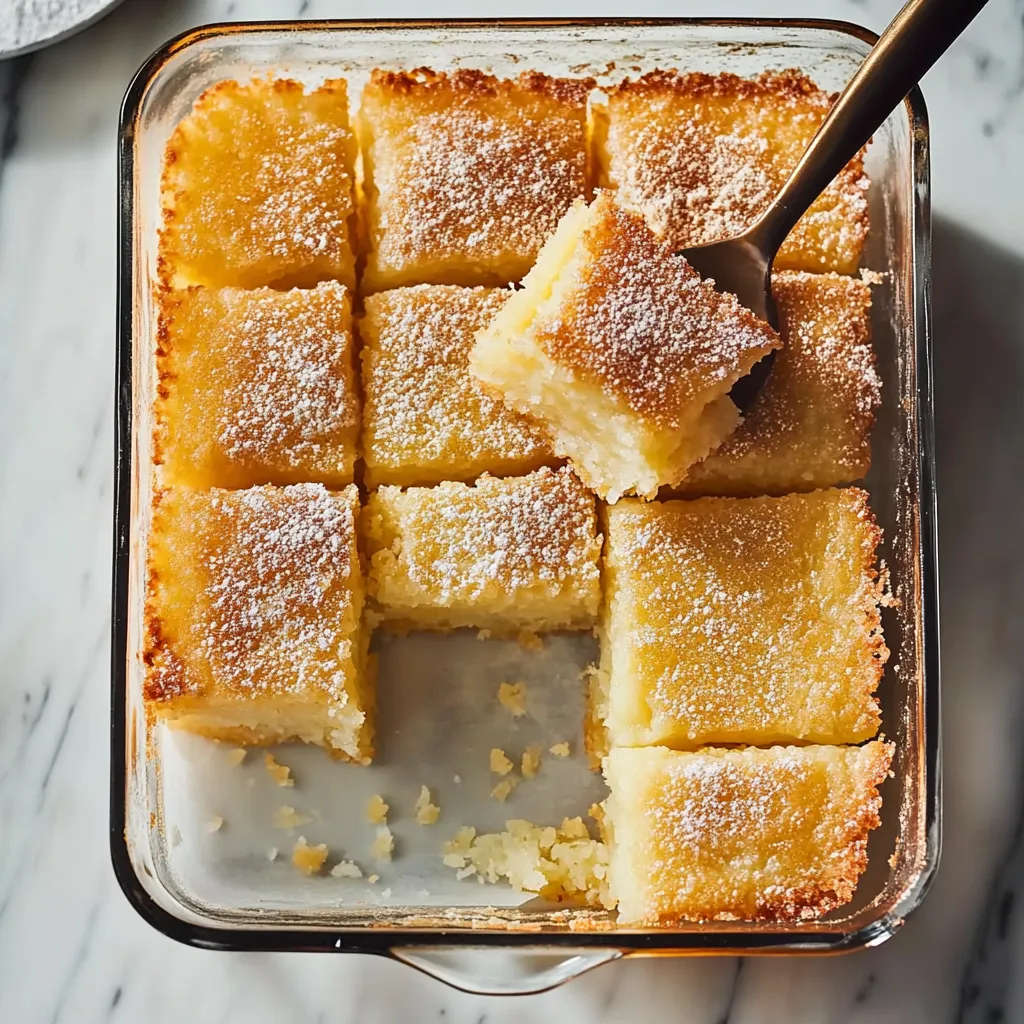
The corner pieces are treasured in my family because they have that extra chewy edge that works so well with the soft middle. I've started cutting those pieces bigger to stop the friendly arguments over who gets them.
Nailing The Perfect Texture
Watch your baking time carefully for best results. The top should turn golden brown while the middle still jiggles a bit. When you see a slight wobble after gently shaking it, it's ready to come out.
Letting Tastes Develop
Let your mochi cool fully on a wire rack for about an hour before cutting. This waiting time lets the texture set up right and makes it way easier to cut.
Smart Prep Advice
Getting all your stuff ready before you start really helps the whole process. Having everything measured out means you'll mix everything together without any hiccups.
Ways To Enjoy It
Cut your butter mochi into big squares before serving. While many folks eat it plain, I really like adding fresh tropical fruit when I'm serving it at casual parties.
Custom Touches
Try playing around with different flavors like almond or coconut extract to make it your own while keeping that classic chewiness everyone loves.
Keeping It Fresh
Store your mochi in a sealed container at room temp for up to three days. The texture will change a bit but will still stay wonderfully chewy.
 Pin it
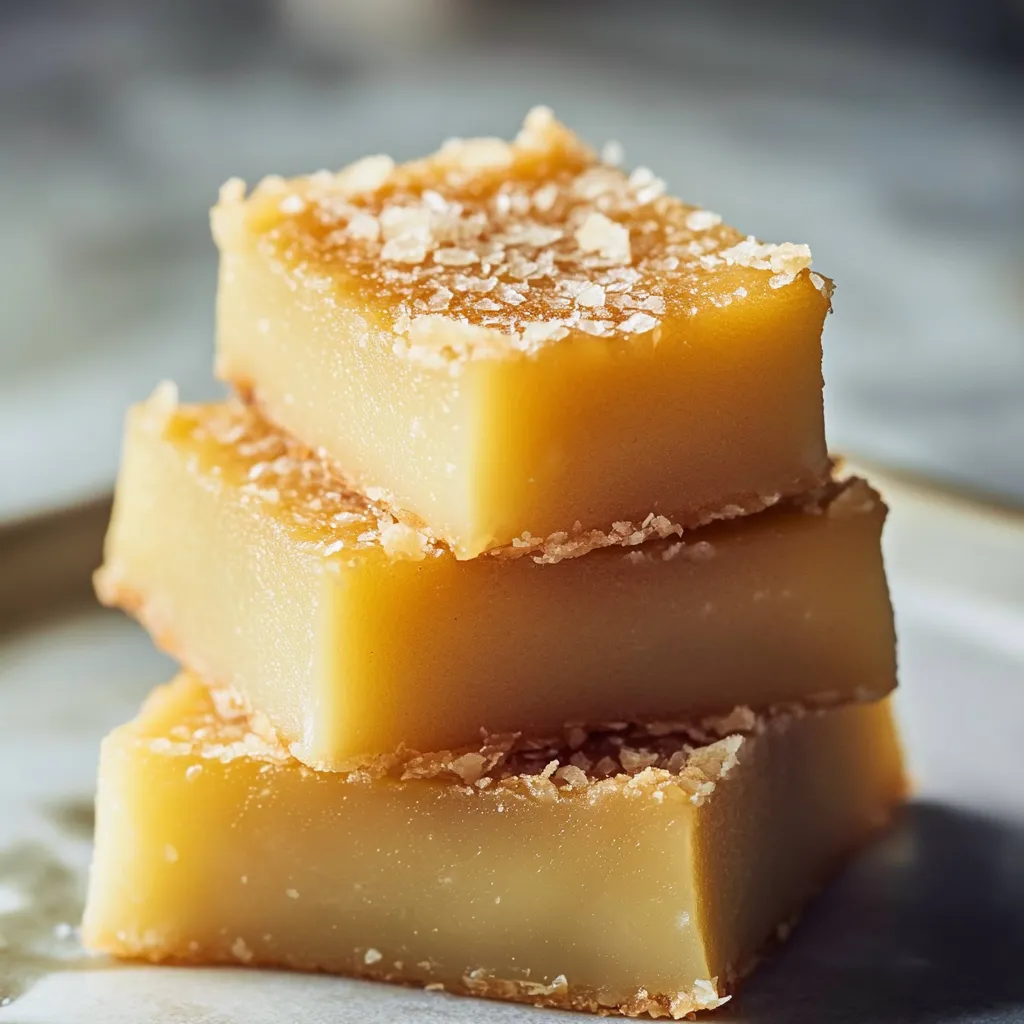
After making tons of butter mochi batches over my baking years, this version stands out as my biggest success. I love how it brings people together and creates moments of pure happiness when they take that first perfectly chewy bite. Whether you've never tried Hawaiian treats or you're already a fan, this butter mochi will give you the true taste of aloha in every piece.
Frequently Asked Questions
- → What exactly is mochiko flour and where do I get it?
- Mochiko flour is glutinous rice flour, often called sweet rice flour. Look for it in Asian supermarkets or the international aisle of larger grocery stores.
- → Why is a plastic knife best for cutting mochi?
- The plastic knife stops the sticky mochi from clinging, making slicing much smoother.
- → Can I make a dairy-free version of this treat?
- Yes! Swap the milk for extra coconut milk and use coconut oil instead of butter.
- → What’s the best way to store butter mochi?
- Keep it in a sealed container at room temp for 3 days, or chill it in the fridge for up to a week.
- → Why does mochi sometimes crack on top?
- A few cracks are normal. To reduce cracking, ensure the oven stays at a steady temperature and let the mochi cool slowly.